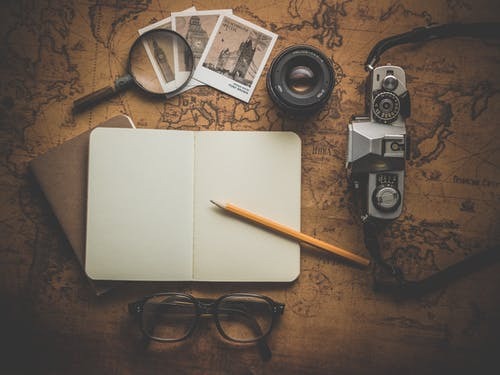
Tips for Better Travel Photography
When we travel, most of us want to capture the most beautiful and unique moments from our trip. The pictures we take while travelling can help us relive those precious memories and also help to share the experience with others. Plus, the boost it gives our social media presence doesn’t hurt.
However, there is a certain knack to taking the perfect photographs while travelling. It's not just about snapping a picture at a beautiful spot or posing beside a landmark. Look at some pictures of the same location; some by a professional and some by an amateur. You’d see the difference instantly. There is a certain knack to taking the perfect photographs while travelling and here are the some tips on how to improve your Traveling Photography.
Travelling photographers, whether they're professionals or not, ideally want to prepare a bit before setting out. There’s a difference between just getting a few snaps and capturing some amazing sights. If you’re interested in some tips for bettering our travel photography, here are some that might be helpful:
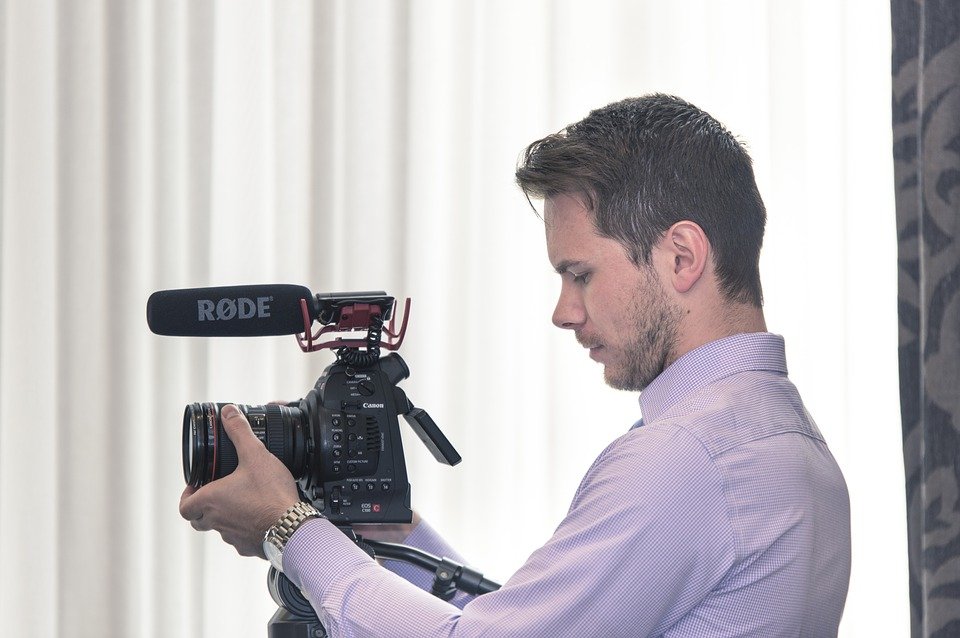
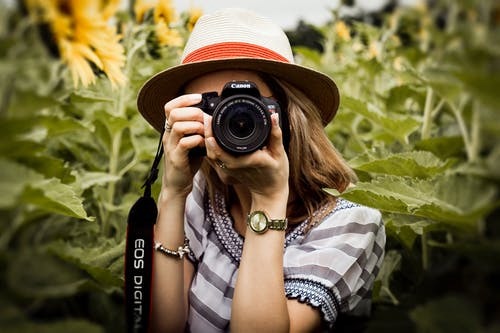
1. Get to Know Your Equipment
Your photography equipment is a major factor in how your pictures turn out. If you’re a professional photographer who’s travelling, you probably know your equipment quite well already.
For the everyday laymen photographers, however, the most important and expensive piece of equipment they have is probably a camera. If you’re one of these, make sure you get properly acquainted with it before leaving on your trip. You should know how to change basic settings, how to navigate the menus, and generally work on getting the effect you desire. Even if you’ve had your camera for a while, really setting down with it for an hour or so can familiarize you with its full potential.
On the other hand, if you go on your trip not really knowing your equipment, you might get stuck at times. The light may not be just right, or you might miss a perfect shot while fiddling with the settings. Cut out all that stress and invest some time in the required knowledge beforehand. Know the aperture, ISO, white balance, shutter speed, and so on. It also helps to be aware of how you can turn on that display light when taking a snap in the dark.
2. Learn What Makes a Shot
Among the top tips for traveling photographers is learning how to have a good composition for your shot. This is what can take your picture from halfway decent to downright compelling (if all goes well).
Get together the base toolset and learn what’s involved in getting the required composition on any image. One of the main compositional concepts is the Rule of Thirds. This guideline tells us that photographers should not think about always cantering the main subject in the picture.
Instead, think of the frame as being divided into nine squares, like those on a basic Rubik’s Cube. As the photographer, you have to put the main subject at one of the intersecting lines of the squares. Many times, this practise gives a much better effect than the standard centering of the horizon and the subject (usually a person, couple, or group).
Another compositional guideline to keep in mind is that of leading lines. This means that one uses natural lines in a landscape, such as that of a river, stream, or path. Placing your subjects alongside these lines will also help the viewer look where you want them to. The visual flow of the resultant images will be enhanced this way.
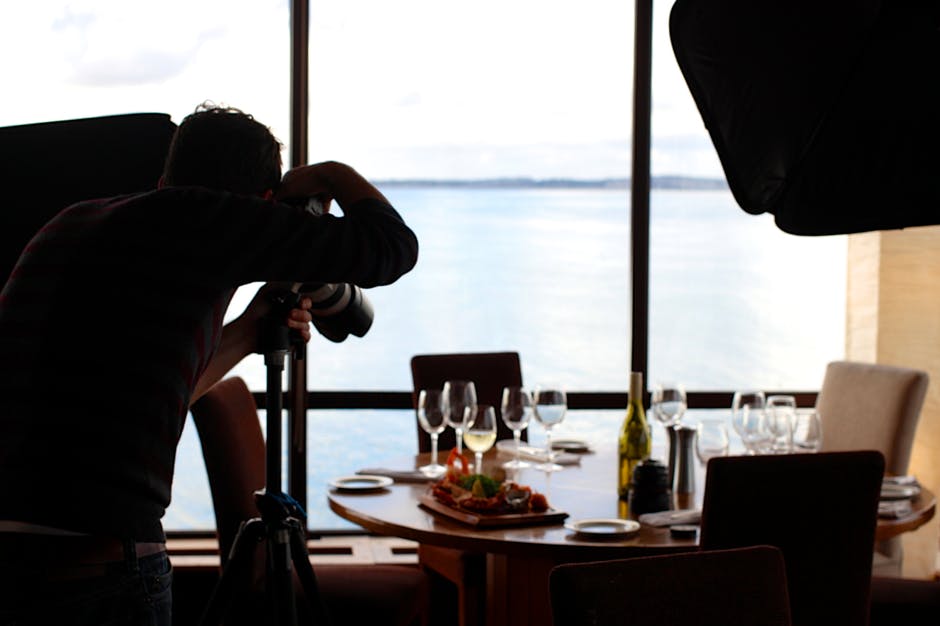
3. Scout Out Locations

If you’re thinking about becoming a backpack and travelling filmmaker or something similar, developing such research habits can really help you along the way. Even if you’ve never been to a certain place before, looking it up beforehand can enhance your experience of the spot. From there, it’s only logical that you have a better chance of taking memorable pictures and videos.
We have a wealth of information at our fingertips now, so it should be fairly easy to research the locations you plan to visit. You can begin by looking at examples of successful photographers and learn some classic shots. From there, go to Google Maps and use the aerial view for locating the less-frequented spots. These areas are likely to have a lot more potential than the usual locations that might be ruined by scores of tourists.
Additionally, get yourself familiar with weather forecasts, times of sunrise and sunset, and any dangers a location might have. This way, you can be prepared in more ways than one.
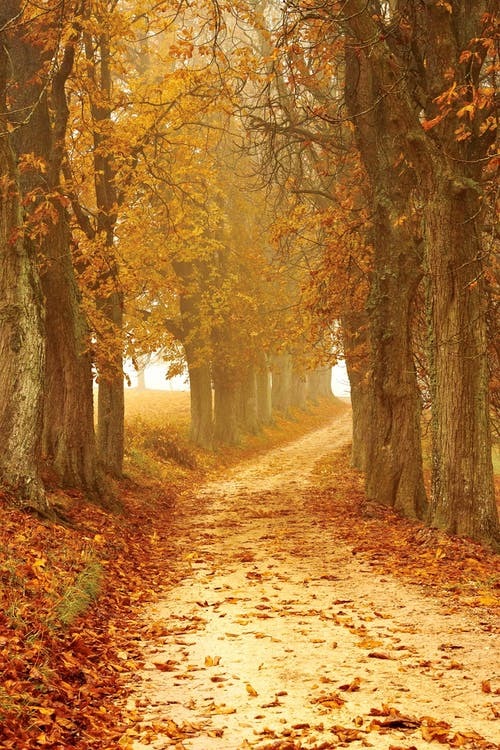
Remember that the lighting majorly influences the results of landscape photography. If you plan to take such shots, keep the expected direction of sunlight in mind. This will enable you to get the best lighting possible on the day you visit. At times, enthusiastic photographers might even have to revisit the location a few times to get the perfect direction of the sun. You can also consider other options like the breathtaking beaches in Bulgaria.
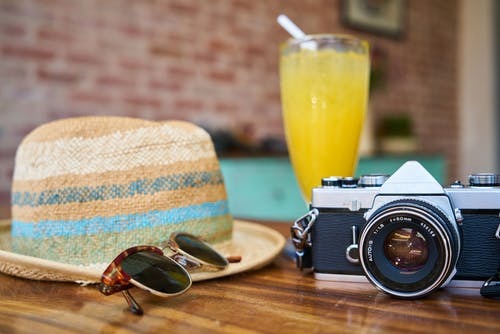
4. Pack Light
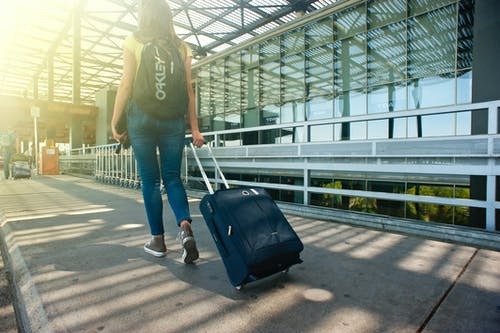
Most travelling photographers or seasoned travellers will tell you that traveling light is best. You might feel the need to pack all the equipment you have, but it’s usually better to stick to the basic essentials. The same goes for packing other stuff; you don’t want to be weighed down and tired out before getting all the best shots of the day.
5. Make The Most of the Daylight
We’ve already talked about how the lighting is key if we want great picture results. Many agree that the best option for travel photography is the light in the early mornings and the evenings. These are also called the Golden Hours, where the light is warmer and softer than other times.
As the day wears on, the sun gets higher and gives off a harsher light. This will make it more difficult to walk around and will also adversely impact the quality of the photos you take.
The morning light is worth getting up early for, but that’s not the only advantage you get. In the early hours, popular tourist locations are also usually at their best; the majority of tourists don’t flock in until later in the day. Different locations might have different rules, but you’d usually find that this rule applies to most tourist-packed places.
Other times to look out for are the Blue Hours. This could be the hour right after sunset or before sunrise. At this point, the sun is not completely out. For most natural landscapes, this means that the light has a blue hue, creating a magical effect perfect for memorable photography.
6. Invest in a Tripod
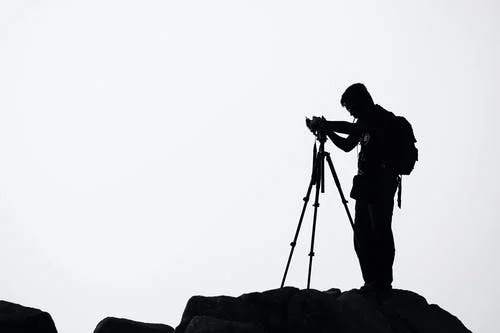
Even if you aren’t a seasoned professional yet, a tripod could really change up your photography game. Yes, they’re a bit bulky and a pain at times, but you’d be happy when it’s time to start snapping away. A tripod can help you get many difficult shots, also cutting out that annoying shaking that can blur your photos at times.
Tripods are also useful if you want to take a photograph late in the evening or early in the morning. At these times, the light is quite dim. It’s almost impossible to have a good picture with a handheld method. You might try to increase the ISO here, but that will compromise the quality of the resulting images. With a tripod, a photographer can extend their shutter speed and get that coveted sharp result even in dim lighting.
If you want to experiment or conduct long exposure photography, that’s yet another reason to take your tripod along no matter what. With this piece of equipment, you can create an artistic blur quite easily in moving elements like the sky, flowing water, and so on. Without the tripod, the same practice might be impossible.
7. Get Extra Batteries
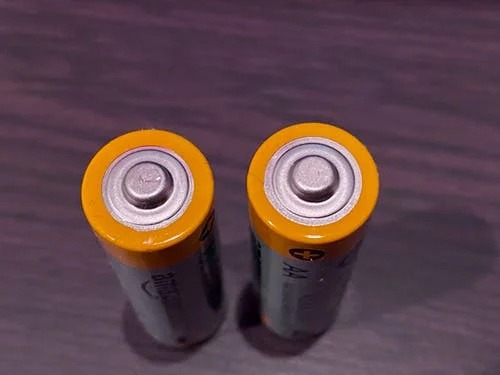
Having some spare batteries might seem like a pretty obvious tip, but it needs to be mentioned. Many travel photographers have made the mistake of leaving without extra batteries or having too few of them. Imagine the pain of being in a gorgeous location with perfect lighting and conditions, but a dead camera in your hand. You don’t want to miss out on any shots, so make sure to have a backup on hand at all times.
If you already have a couple of extra batteries in your backpack, add a couple more. Before you go out, make sure that the batteries are charged as well.
If you’re going to a location where the weather is cold, remember that the lower temperatures can drain batteries much faster than otherwise. Keep this in mind and stock up accordingly.
Conclusion:
If you’re wondering about which type of photography career to pursue or just want to have the best possible clicks for your next trip, the tips above will help out. It’s never too early to start, so some aspiring photographers or travellers might want to start checking out their cameras and doing research on the locations they want to visit.