Instant Photography Tips for Beginners
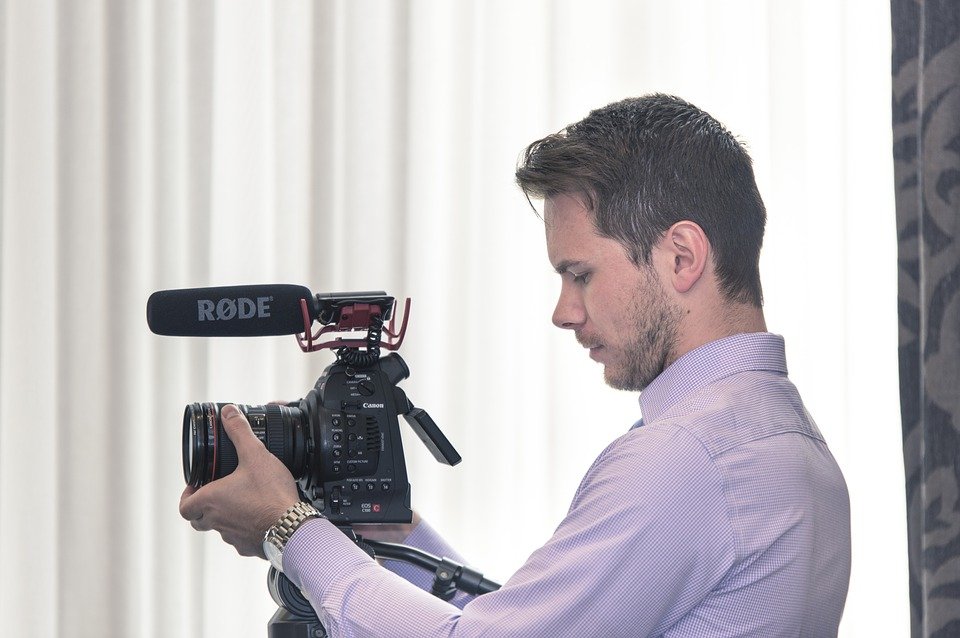
Many beginners chose instant photography simply because one can capture a special moment and have it develop right before their very eyes.
This through an instant camera which uses self-developing film to create a chemically developed print shortly after taking the picture.
Tips for Shooting Better Instant Photos for Beginners
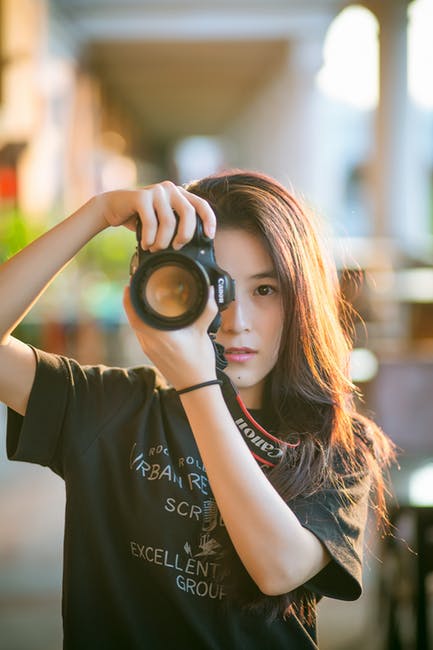
1. Keep your distance
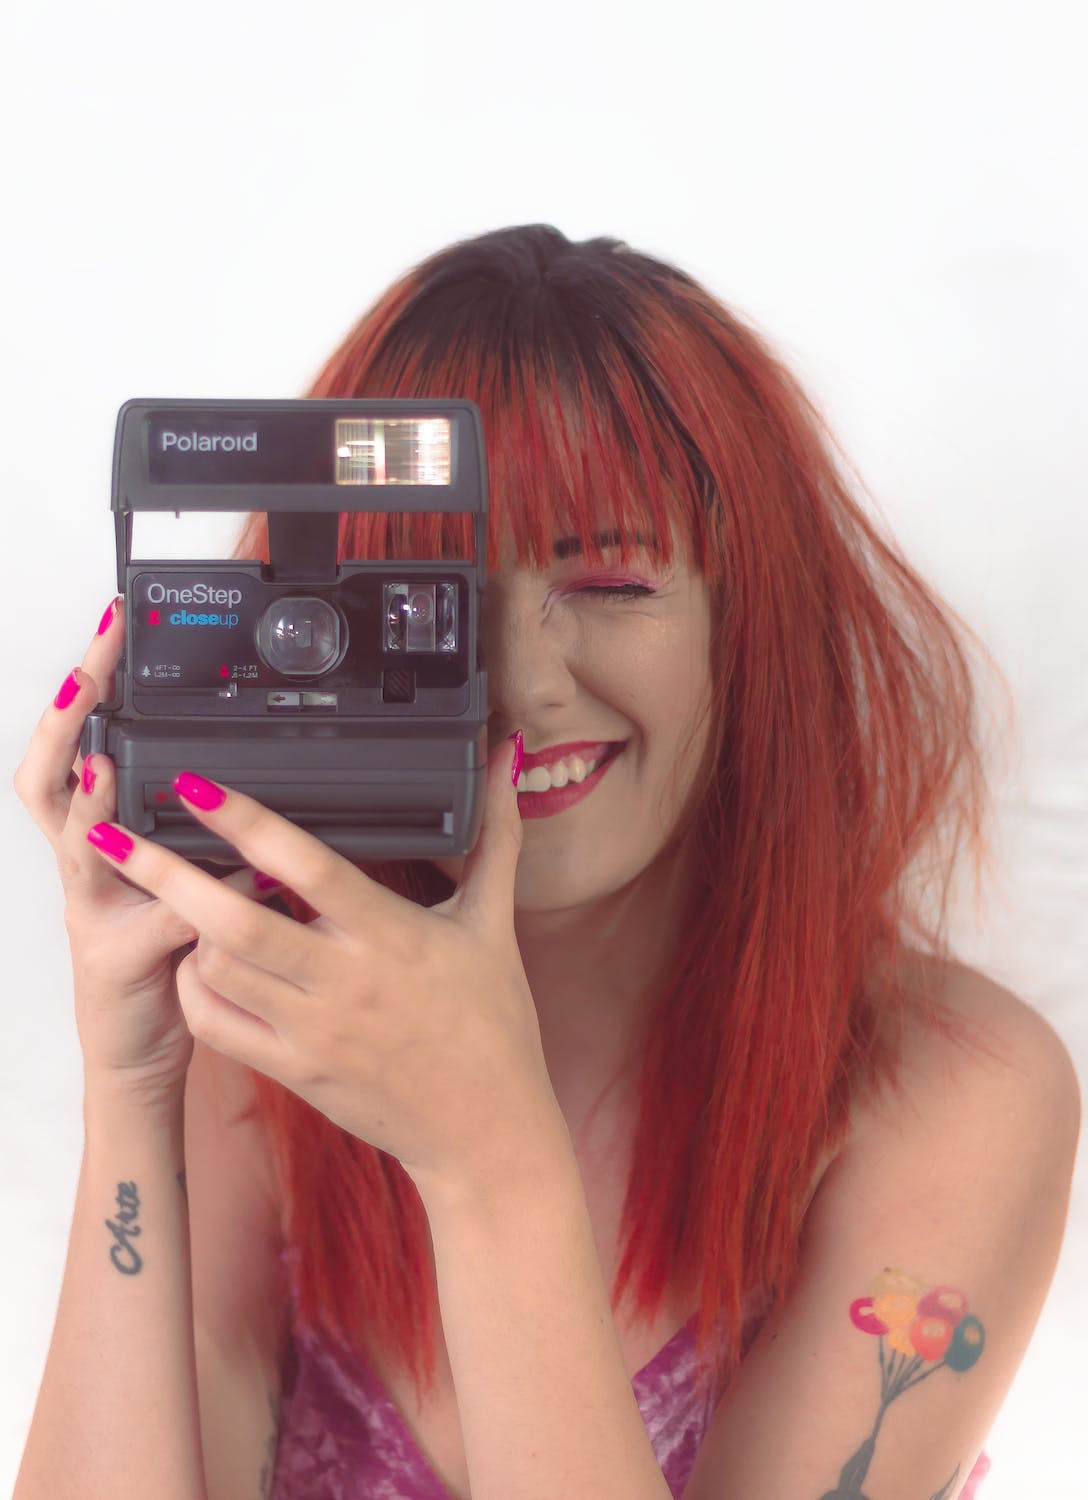
Most instant cameras have a minimum focus distance of either 30cm or 60cm, which roughly equates to holding the camera at arm’s length if taking a selfie.
If you’re getting blurred shots this may not be down to camera shake or lack of light, but because the lens is simply too close to the subject. So, as when using any camera, bear distance in mind.
2. Avoid subjects too small in the frame
The opposite of the previous nugget of advice is simply standing too far away from your subject. Most instant prints are credit card sized, or certainly no larger than a drinks coaster, so if your subject is too small in the frame they’ll be barely visible.
Generally speaking you don’t want to be standing more than five or six feet away from your subject – unless you’re trying to squeeze a landscape or piece of architecture into the frame. You might want to get closer still if you’re looking to maximize impact.
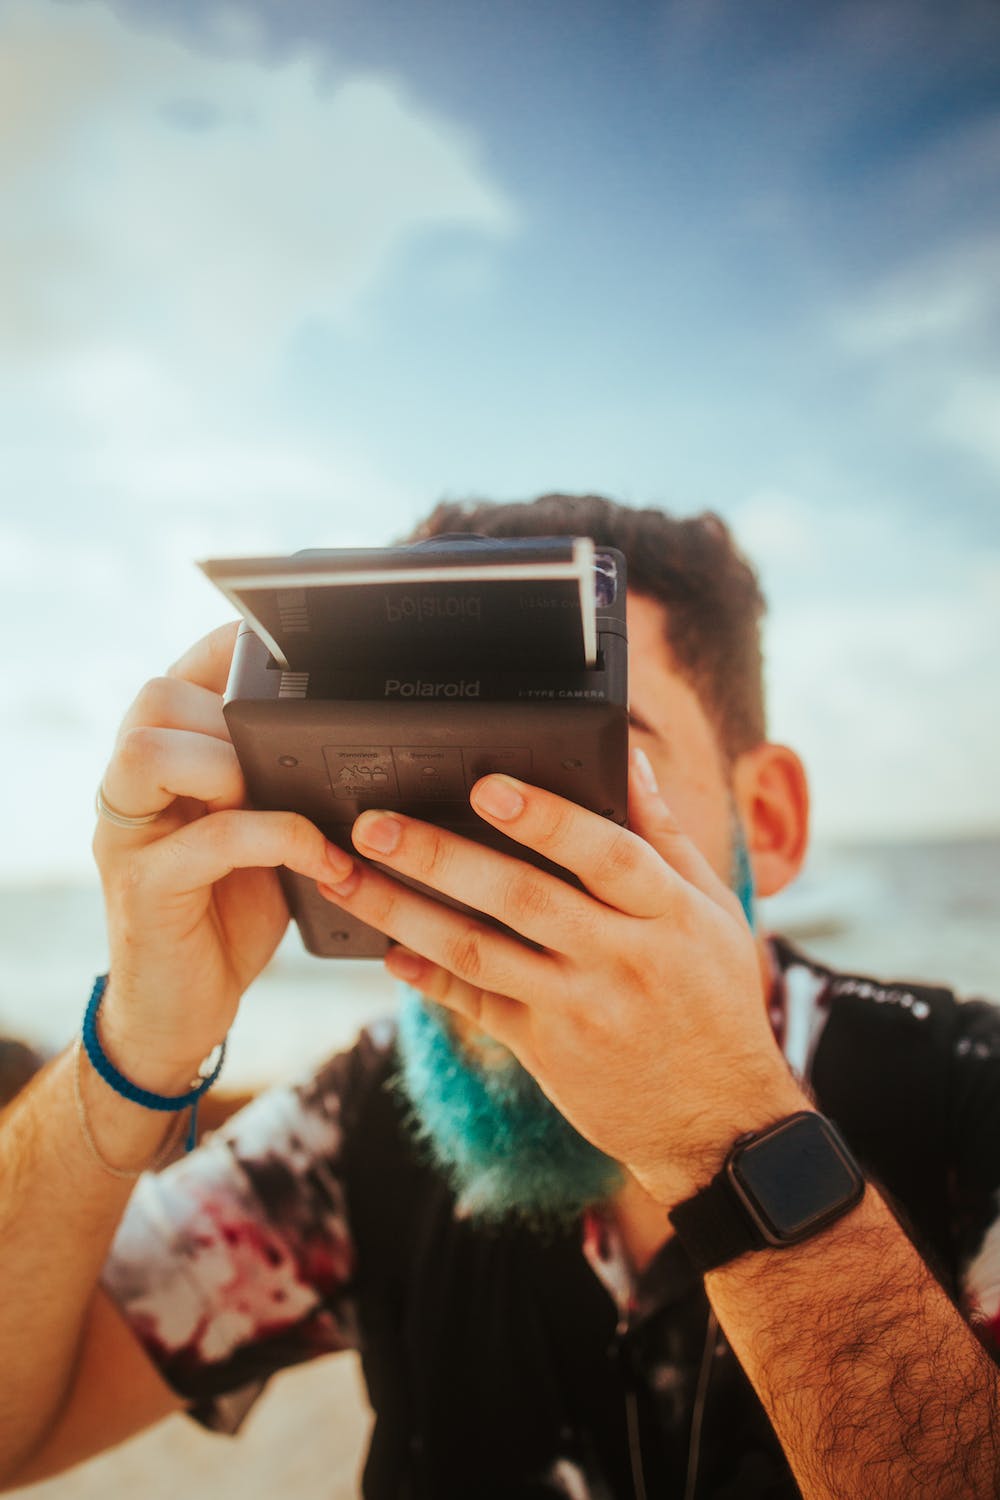
3. Don’t allow fingers in the shot or obscure the flash
On the more diminutive instant cameras, seeing the ends of fingers intruding in the frame – because the camera lacks a decent handgrip and there aren’t many places to put your hands – is a common complaint easily avoided with experience.
Another is avoiding obscuring the built-in flash – again, because you’re holding the camera in a certain way and part of your hand is blocking it.
Without an LCD screen to warn you of the fact before you shoot an image at a pound a pop, it’s worth checking there’s no operator error in play up front.
4. Use natural light where possible
This tip applies to any type of photography, but particularly to instant photography where typically a combination of high ISO film and a camera that wants to automatically fire the flash every time can lead to disappointingly washed out looking results.
Again, experimentation is key, but you may well find that deactivating the flash and using only natural light – even indoors – will yield results with better contrast and subject definition.
5. Try the same subject from different angles
While you obviously don’t want to waste lots of expensive instant prints, consider how the subject might appear from a different angle from whatever the first one is that pops into your head.
Again, standard photographic principles and advice apply. Try crouching down low or alternatively standing on a wall or a chair. Simply standing in front of our subject and pressing the shutter release button doesn't always yield the most effective results – unless you’re deliberately wanting static results or setting up some symmetrical framing.
6. Good subjects for instant photography
As indicated by the above tips, close-up portraiture tends to be the favored subject for instant photography – as the subject lends itself to the smaller, at times almost passport-sized dimensions of instant film prints. Yes, you can alternatively shoot landscapes – wide-format instax film lends itself particularly well to this possibility – but you may want a larger format print option still if detail is what you’re after.
7. Contrast your subject with their background
A blank, white or light-colored background is often the preferred choice for a portrait shoot. However, we can play around with this to add contrast and avoid our subject disappearing into the backdrop.
For example, a person in dark or detail-rich clothing if the background is light or uniform, or alternatively a subject in light-colored attire if the background is busy – say a brick wall or crowd scene.
Whichever way you spin the set up, you want your subject to stand out, which is also why firing the flash if your subject is outdoors is a good idea. Otherwise, they may be rendered in silhouette.
8. Experiment with double exposure
Some, but not all, instant cameras offer the possibility of a double exposure. This is where you take one shot and move the camera before taking a second shot, after which point the device emits a print that combines the two. This can produce happy accidents or a bit of a mess, but a lot of winning creativity comes out of experimentation and such happy accidents.
9. Try to be candid
Simply plonking the subject in front of your camera and alerting them to the fact that their photo is being taken doesn’t always lead to the best results. Most people tend to strike stiff and unnatural poses when the camera is on them with the hope of, ironically, looking their best.
As with other types of photography, in some situations candid snaps can work better, helping to tell the story of an event or a day better than more rigid, formal photography.
10. Use instant photography to break the ice
A photographer being able to give their model subject an instant print in order to show them what's being achieved – or the look the photographer is aiming for – has long been a creative device when shooting portraiture.
Use your instant camera in the same manner. Handing someone a print at a party helps break the ice, and can lead to either more relaxed results or more results for subsequent shots, depending on the particular look you’re after.
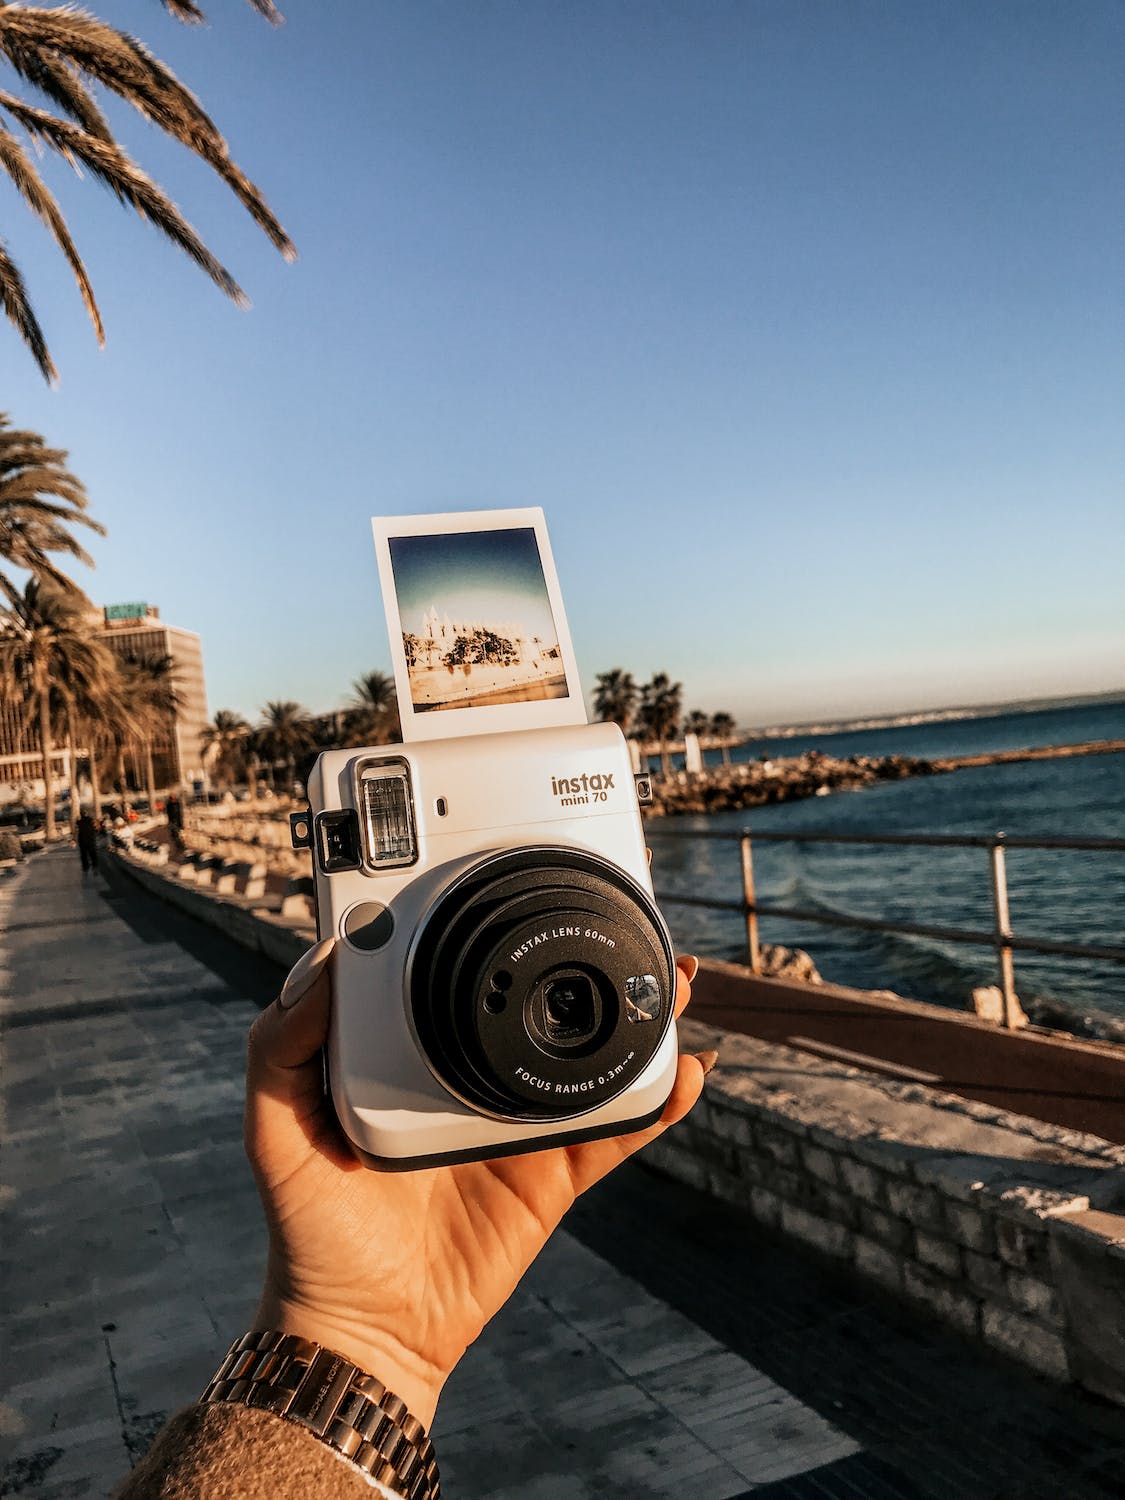
How to Frame and Focus with an Instant Camera
To frame your subject you need to open the viewfinder, the viewfinder uses silver reflective marks and help you align the camera for a shot, so to get a well compose shot you need to move the viewfinder about 4 to 5 centimeters away from your eye.
Make sure that the silver dot is in the middle of the circle, so when you're shooting you need to remember that the viewfinder sits above the camera's lens and when you're shooting at close distances you need to aim your camera a little higher.
Make sure that the silver dot is in the middle of the circle and then move a little up to make sure that what you’re seeing through the viewfinder actually comes out on the photo.
Remember that the camera can go as close as about 30 centimeters so to focus on the subject, you can use the shutter button and when you press it lightly the camera focuses. You can feel a soft click when focusing on the subject and the focusing works best when you have your subject in the middle of a composition.
Tips in Handling Instant Film
Once a picture has been taken it takes around 90 seconds to develop, during this time it is important you don't crease, squeeze or shake the film. These types of actions can affect the distribution of film chemicals while the film is developing. This of course, some users do this to creative effect!
After the first few moments have passed, your photo can be removed from under the film shield. The photo is still sensitive to light, however, and should still be kept shielded from strong light sources until it has developed further. For example, you could keep your photo: Face down on a table.
It is recommend to finish a pack of film within 2 weeks for best results and no longer than 1 month. Some people ask if you have to put the camera (with the film inside) in a dehumidifier. The answer is no don't do that, because it might dry up the chemicals.
Instant film is light sensitive, so should only be exposed to light when a picture is taken, not before.
Instant photos can fade if they aren't stored properly. Putting them on display or leaving them out in the sun can cause the colors to fade over time. It is also best to keep the prints away from heat and humidity