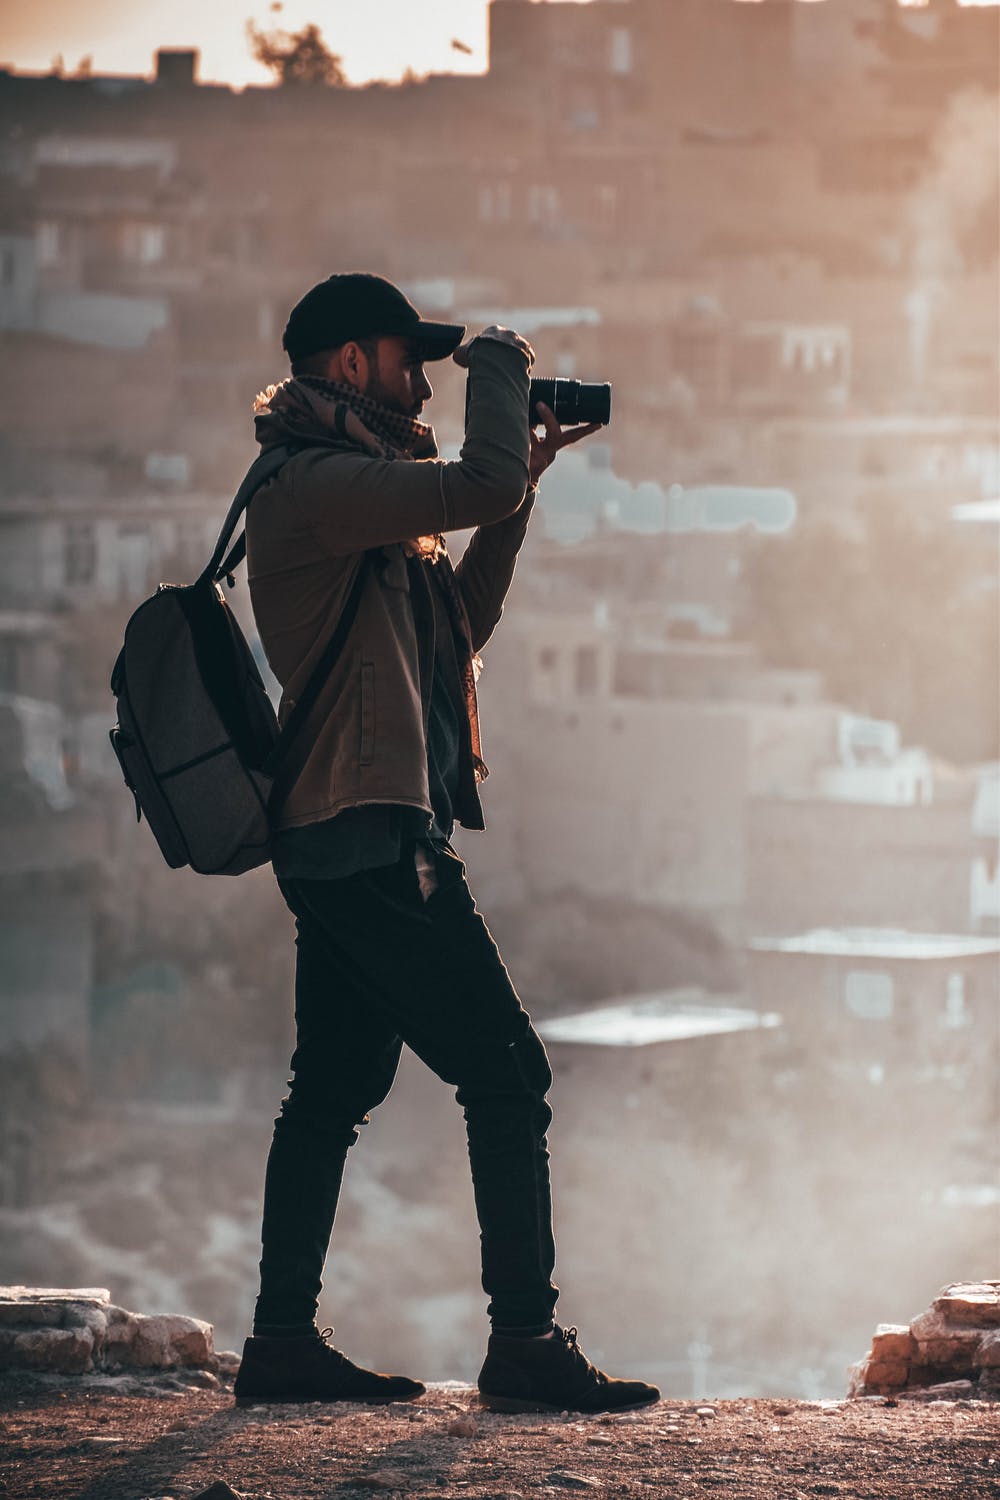
7 Pro Tips for Traveling Photographers
That said, there are tried and tested tips that have helped many photographers over the years when they were busy capturing their or someone else’s travel moments on camera. Many of these were understood the hard way after a thing or two went haywire during the execution of a scheduled shoot or in the journey. And though these are pro tips, they can be incorporated whether you’re shooting with a high-end professional camera or a GoPro or an iPhone.
Let the secrets be revealed.
1. Research Your Location
This is a no-brainer if you’re looking to stand out. With so many photographers traveling to so many locations so often, it’s very likely that the images you will be capturing have been captured in the same angle before. Your job is to stand out by showing a different perspective, different story, or different angle. That’s where researching a target location becomes imperative.
For instance, if you’re planning to go to the Horseshoe Bend in Arizona, you should not arrive at the sunset at a certain time of the year for the iconic shot, as the sun would appear directly behind the frame. In late October, it’s better to go in evening time around 5:30. Try to get creative once you’ve researched the location. Asks yourself, “Can anything shoot this angle?” And know what elements could disrupt a great picture: distracting objects, people, too much lighting. Also, you can experiment with reflections; try taking some shots with the help of things at your disposal that you might usually overlook.
2. Take A Small Tripod Along
A tripod is one of the best investments you can make to up your travel-photography game. There is a multitude of reasons to carry a tripod but the main one is to get stable images of the landscapes and the objects within them. Without one, it would be difficult to shoot those low-light or early morning photos, where the solid support is a must. Fortunately, travel tripods are much easier to take along (and to fit in your suitcases) as they are compact in size, with enough stability to capture long exposures with.
Options like Gitzo Traveler Series 0 and Joby are super portable and small. Plus, the flexible legs of travel tripods allow users to wrap them around fences or tree branches for unique angles (With care, of course). There are more expensive, nicer looking models out there, but sheer bulk won’t be practical for travel, which is why we recommend a small-sized, multi-legged companion for your camera.
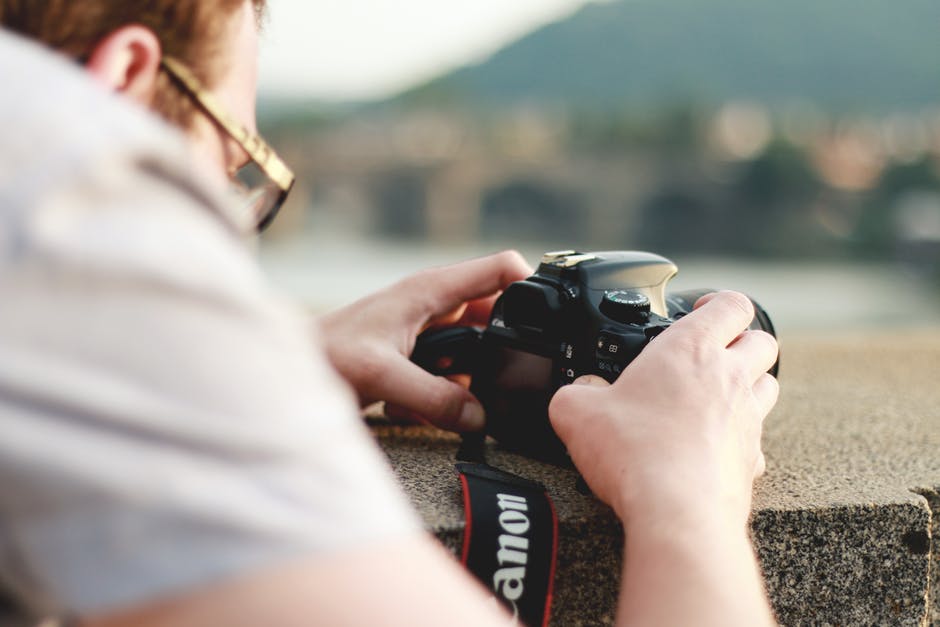
3. Understand Your Camera
Whether it’s your GoPro or a DSLR, you have to do your research. One thing we’ve learned is that the more time you spend messing around with your gear, the better you’re able to capture great images during travel. The most significant help you’ll receive to get yourself familiar with all the techniques and buttons for your camera gear will come from YouTube tutorials. Also, we recommend going through the device’s manual. The vendor’s instructions will help you get equipped with the technical details of each function.
Shooting modes are one of the best places to start. They’ll be present on the dial and labeled with “Av, Tv, auto, M, P” or perhaps more. Choose a shooting mode to see how your camera reacts when you press the shutter. Next, you can test the ISO to see how your camera responds with lighting. In the case of DSLR’s, you’ll have to get yourself familiar with autofocus modes, for instance, the two that are usually incorporated are AF-C and AF-S. Fire up YouTube and go through the manual to understand all the bits and bobs.
4. Experiment with Time Lapse & Burst Modes
Time Lapse mode is when you press the shutter button, and the camera or smartphone or GoPro continuously takes shots every half or one second (users can select how often) until the shutter button is pressed again to switch it off. If you’re using GoPro, you can adjust the angle by moving the device slightly. This way if some of the shots aren’t composed correctly, it’s likely that you’ll have at least one shot that turns out great. Also, time lapse works well when you ask someone to hold your camera and capture your image.
If you’ve planned to capture high-speed action shots, you might want to switch from time-lapse mode to burst mode. With this mode, you can capture up to 30 images in one second. The mode works well if someone is doing an activity like bungee jumping and you want to capture the perfect moment. If you plan to use burst mode while taking a selfie on a device like an iPhone or GoPro, you’ll have to get a compatible remote to trigger the shutter.
5. For a Digital Camera, Get the Right Lens
The best way to capture the outdoor scenery, wildlife and nature is to invest in the right lenses. The two highly recommended ones include the fisheye lens and a 135mm (or telephoto of similar quality). The right fisheye will have an aperture of f/2.8, and the ideal 135 will have an aperture of f/2.0. Taking images with a fisheye lens can be an incredibly rewarding experience. It requires you to hold up the camera to your eye with an installed fisheye lens, move it upwards and watch the bending of horizons at the sides, bringing a globe to feel to the picture. Tilting the camera down will make the group curve up like a large U. It can be used to take striking images of the stars at night.
The 135mm f/2.0 will add a sturdy feel to your travel photography. As it is a telephoto, it does a great job of pulling the background in for a compact feel to the photos. Also, it is a great portrait lens that can entirely obliterate environments in a sea of dreamy bokeh. The 135 mm is a fun lens to shoot images from afar if you have concerns about straight-on encounters. Moreover, it makes for exciting landscape shoots if the photographer has enough room.
6. Photograph People & Little Details
Using humans in your travel images doesn’t always have to mean a photograph of a group of teens posing for your picture. Think about how you can use them to tell a story. This could mean not taking images of their face but having them placed in your image to portray a landscape’s scale or cycling past in a mountain range in a place like Switzerland. If you think your travel photography is bland and requires more to portray a story, humans are always an excellent choice for making that happen.
Another good idea is to capture the tiny details of the location you’re journeying to. Colours of Paris is one of the travel photography reads we recommend; it captures several quirks of Paris that people often notice, but rarely select to photograph. Photographers like Emma Kate give good advice on capturing small moments if you’re looking for inspiration. Hence, keep an eye out for little details – colorful socks, vibrant tiles on the path you’re standing on, baskets on a balcony, etc.
7. Break Down Scenes into Threes
If something is placed right in the middle of your frame, it means the image is about that thing. Another useful tactic for sparking visual interest in routine shots is to frame it in such a way that your subject is put off-center in the frame. A handy way to imagine this is to break down the frame into three sections mentally – left, middle and right), and place the photo’s main subject either within the right or left section. We recommend choosing the side with the least background interest in the overall frame.
That way, the viewer can be made to think the photographer took an image of both the background activities and the image and gave equal importance to both. If you combine it with a vertical shot, it could produce a compelling result. Using the 1/3 subject of the way from either side a vertical shot is one of the most convenient ways to composes a striking image with minimal effort. In fact, the photographer can even divide the image vertically into threes so that there is a grid with nine squares to work with. The technique has a long name known as “rules of thirds.”
Final Verdict
It’s not so much of the content of travel photography; it’s lack of knowledge that produces bad photos, along with continuing to do what everyone else is doing. Travel photography is subjective, and if you equip yourself with some knowledge, then it’s less likely to turn out bad. Follow the tips mentioned above, and you’ll see the difference in a matter of weeks.