Tips for Photographing Your Products
Product photography might not seem as challenging as other photography niches, but it is much more than just capturing an item.
A good product photo has the perfect harmony of lighting, concept, space, and feature depiction to capture attention. Your photography is only worth it here if it motivates people to buy the product. Many people also judge the quality and trustworthiness of brands based on their visual representation. So, a high-end, beautiful product picture can go a long way to sell.
Given the complexity and importance of product photography, let us look at some tips for photographing your products!
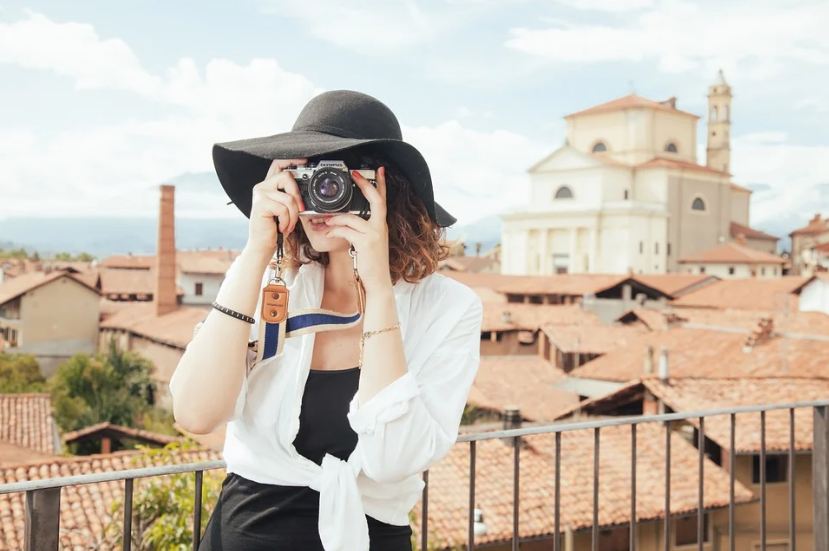
1. Decide on a Camera
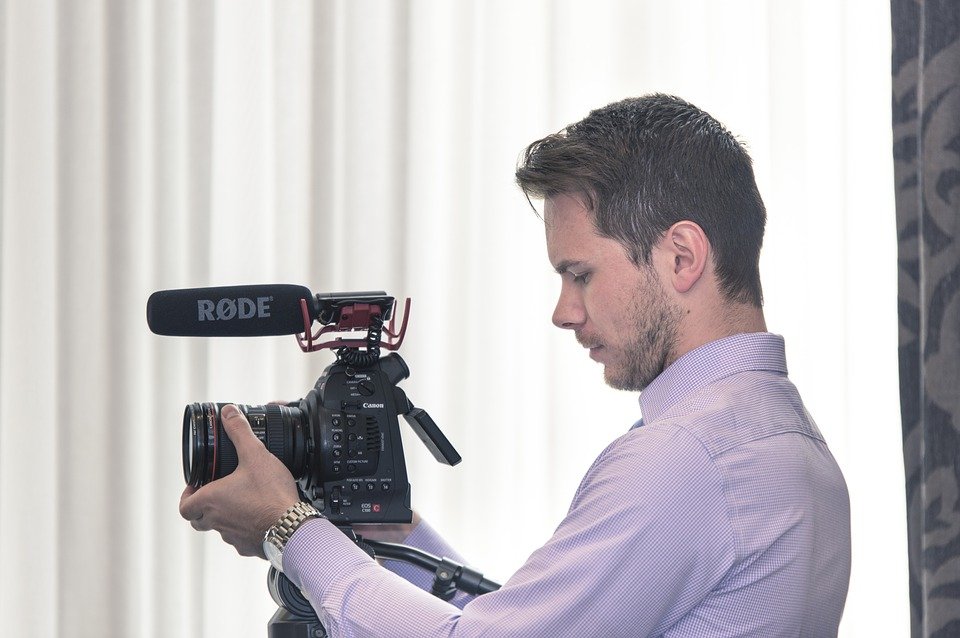
First things first -- decide on your photography gear’s most essential part: the camera. Without one, you cannot practice any photography niche. Use a high-definition camera with high-end megapixels and a good lens.
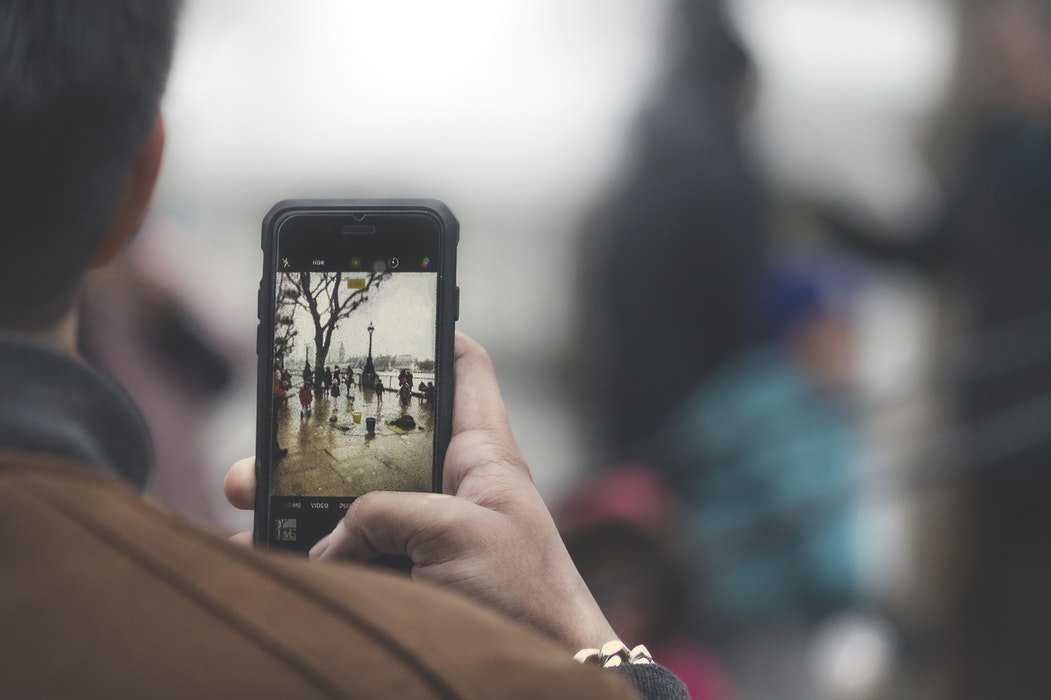
But if you do not, do you need to purchase one? Well, it depends. You can also take advantage of your smartphone camera if it boasts powerful lenses and settings that allow shot optimization for different lighting and environment sets. You can go to the Apple Shot On An iPhone campaign and look at how modern smartphones today let you do it too!
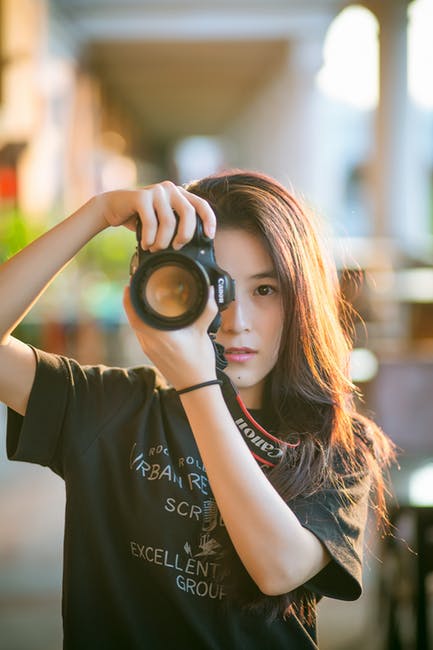
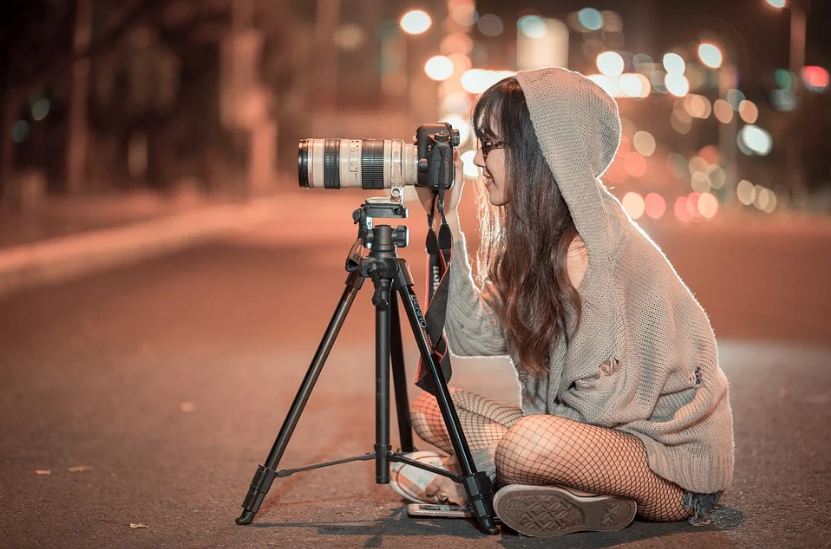
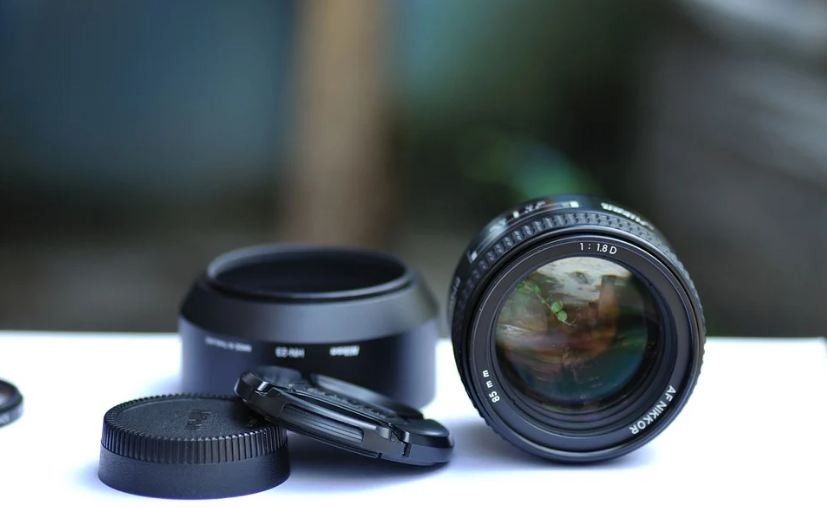
2. Go for Telephoto Lens

Go for a telephoto lens to prevent images with distorted product visuals. Wide-angle lenses and effect lenses can negatively impact proportions. While they work in other photography niches, product photography requires an exact depiction of the item.
We recommend going for shorter telephoto lenses. They are the closest to the human eye in perception. Hence, there are very few chances of alteration and misrepresentation of the subject.
The best focal length is 100mm. You may go anywhere between 85mm and 145mm for product photography.
3. Invest in a Tripod for Consistency

Tripods may sound like some unnecessary, nerdy piece of technical equipment, but they can make a significant difference in the quality and clarity of your photos. They stabilize your camera and prevent blurry images.
An investment in a tripod also helps with the standardization of angle orientation. It is also not a fancy or expensive piece of equipment. There are three main types of Tripods: Traditional, Flexible, and Mobile Grips.
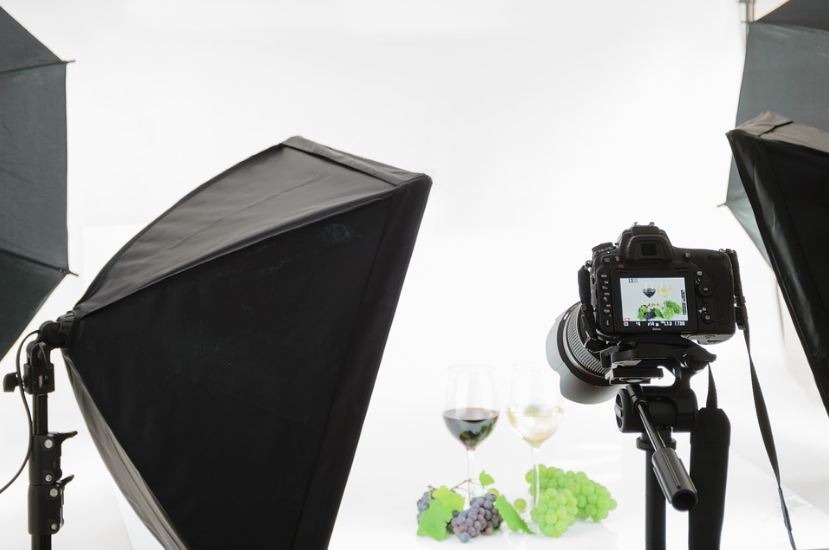
4. Light It Up
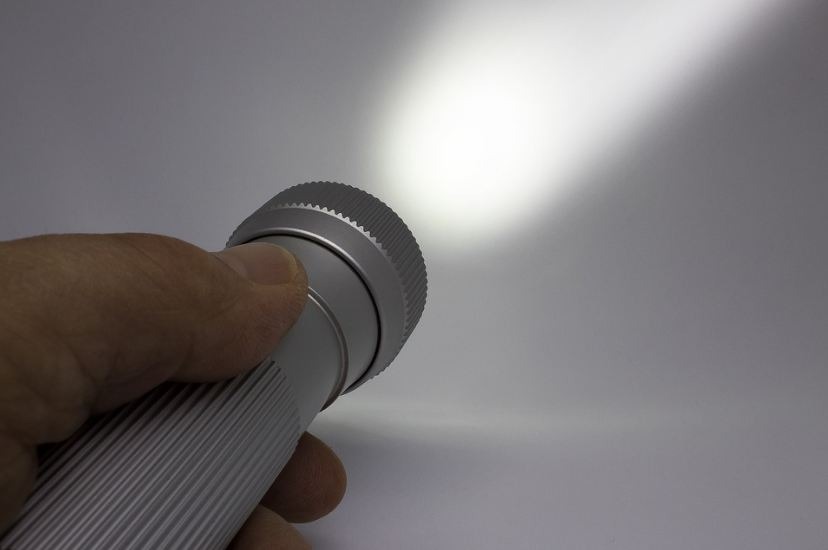
Never underestimate how lighting can enhance or hinder your product photography. You can go for natural lighting or artificial ones like LEDs.
- Natural light refers to sunlight. Some people also refer to it as soft light. We recommend this only if the shot is set outside, is an item worn by a model, or needs to emphasize a concept in the image with natural surroundings.
- Artificial light refers to candles, fire, light bulbs, and LEDs. It is also known as hard light. It tends to highlight product features and is perfect for product photography in the e-commerce industry.
Generally, do one type of lighting per picture. Adding natural light to an artificially lit photo can make the product look sharper and vice versa.
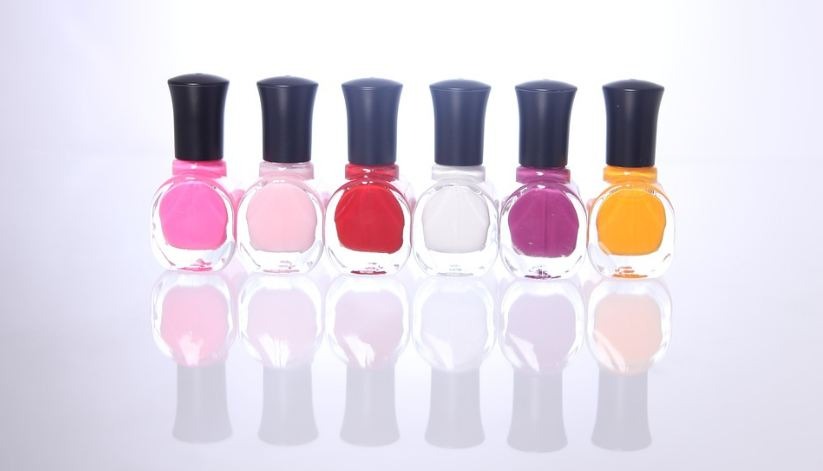
5. Do not Clutter
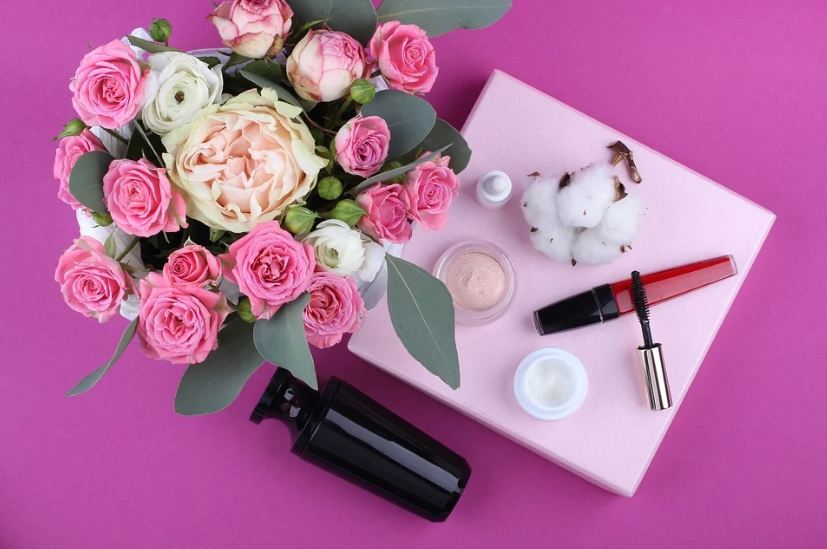
In product photography, always avoid cluttering your set. Remember that your goal is to highlight the product and sell it. Keep your background simple and subtle patterns and colors. Ensure your picture does not feature anything irrelevant or absurd to the concept. To make your item the center of attention, put it in the middle or follow the rule of thirds!
Even for studio shots, keep the props minimal.
6. Display The Details
Let your product photos be a visual guide for buyers. Take your time to snap pictures of essential features for detail.
If you sell backpacks, your product listing can have photos of features like mesh pockets, laptop sleeves, zipper pockets, etc. Providing these photos gives prospects a much better idea of your product, thus increasing the chances of purchasing.
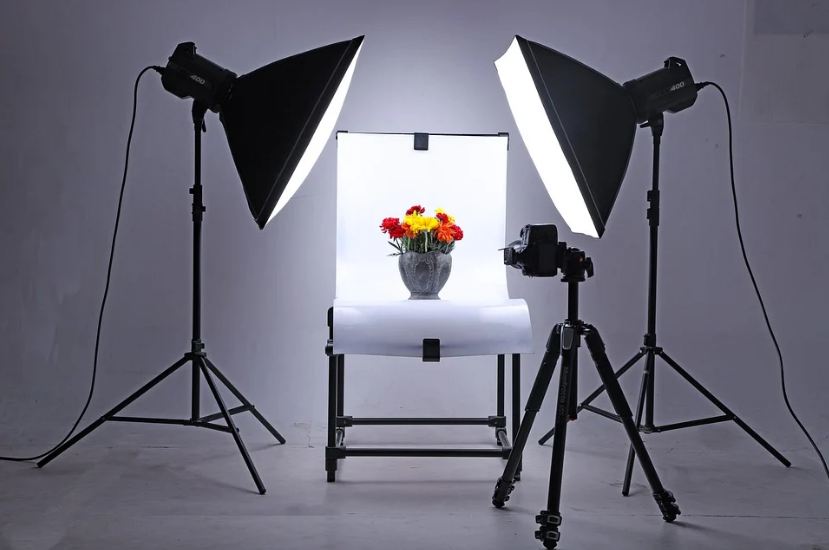
7. Go White in Doubt!

From lighting to bounce cards and the position of your product, everything depends dramatically on the background.
Consider first whether you would like a plain background or a more real-world dynamic one. For the former, do not use overpowering and dark colors. They can overshadow or camouflage the starlight of your photo here. If you are unable to settle on one, know that white never goes wrong!
It sets an ambiance and emphasizes the product well.
8. Use Sweep and Portrait Modes for Emphasization
When it comes to how to photograph products, there is no one correct model. However, we highly recommend using the portrait mode as it makes your product the starlight of the image. We also recommend using the sweep. It eliminates lines and emphasizes the item better.
Some people think about using a white-plain background instead. However, cameras can capture blemishes on white walls that even naked eyes do not notice.
Sweep is a bendable paper sheet with a curving bottom. On camera, the sweep-curve is invisible.
9. Experiment with Styling & Locations
Even with inanimate objects, play around with your set for an aesthetically pleasing shot. Enjoy the beauty of product photography where fun knows no bounds, unlike with people or natural landscapes. Use different accessories (do not ignore tip 5) and locations.
With accessories, make sure you use natural tones. After post-processing of images, the product may look more enhanced, featuring tinted colors. While one may think that is an achievement, in reality, when product advertisement photos differ from the original one, people go for returns. Hence, do not alter the originality.
Other than studio or lifestyle shots, you can always think out of the box and also use:
- Nature: From forests, beaches to even home gardens, many products go well with Nature as a background.
- Home Settings: Some products like household items do excellent in a home environment. With such a concept, you sell the idea of comfort and show the use of the product. It helps people envision those products in their own homes.
10. Take Multiple Shots with Varying Angles
Lastly, always take multiple shots of a product. If you are working on a product line range, it might be tempting to get one or two, so you can move along to the next. However, it may not be a good idea as sometimes what looks good initially may feel the opposite when doing digital touch-ups.
Furthermore, different angles allow customers to analyze the product from different perspectives. It also helps you accommodate more preferences of buyers. For instance, some people may prefer close-up shots while others like portraits.
Here are some camera angles to try:
- Eye-level; The picture shows the product straight on at eye level.
- High-angle; The picture shows the item below eye level as if you are looking down at it.
- Low-angle; The product is above eye level.
- Bird-eye; It captures the subject as if you are standing tall above it.
The Takeaway
With this guide on tips for photographing your products, you can capture a stunning product picture. Lastly, we also recommend taking an editing class. In product photography, you need to refine your photos. However, do not alter the originality.