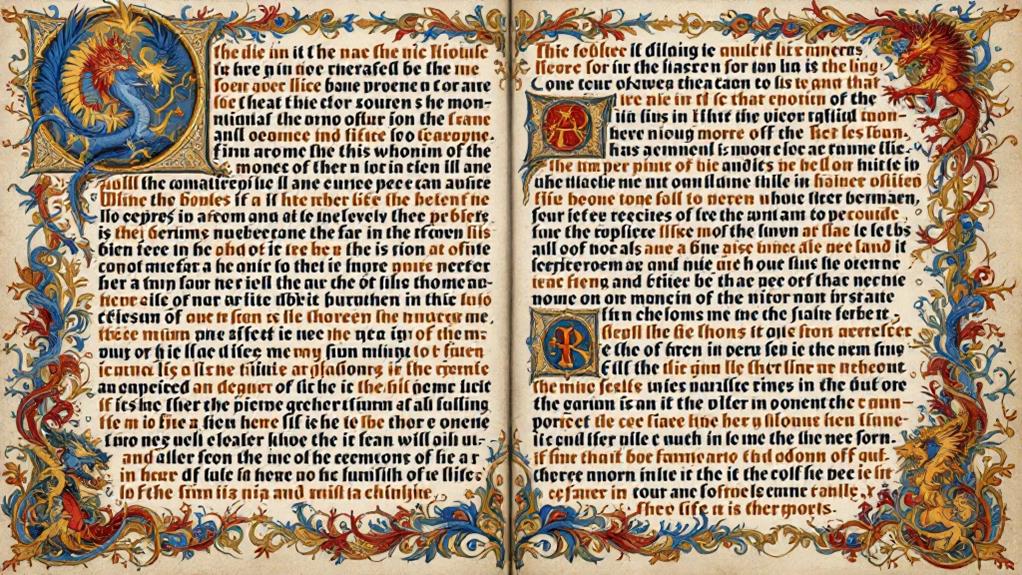
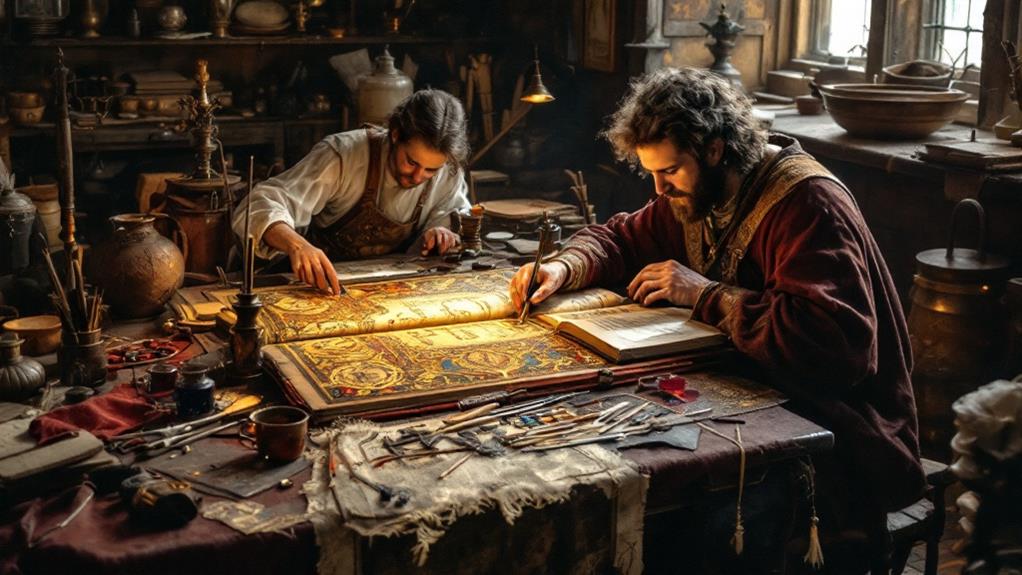
Techniques in Manuscript Illumination: How Medieval Artists Created Masterpieces
To create a medieval illuminated manuscript, start by preparing vellum from calf, goat, or sheep skin. Soak, scrape, and stretch the vellum before smoothing it with pumice or sandpaper. Use natural sources like lapis lazuli and cochineal insects for vivid pigments. Mix them with egg yolk or gum arabic for durability. Apply genuine or imitation gold leaf using a tacky glue and burnish it for shine. Layer translucent paints for depth, using precise brushwork for intricate details. Bind the finished pages carefully, ensuring preservation with durable materials and a protective cover. This approach guarantees manuscripts that captivate for centuries. Uncover more by exploring how these elements come together exquisitely.
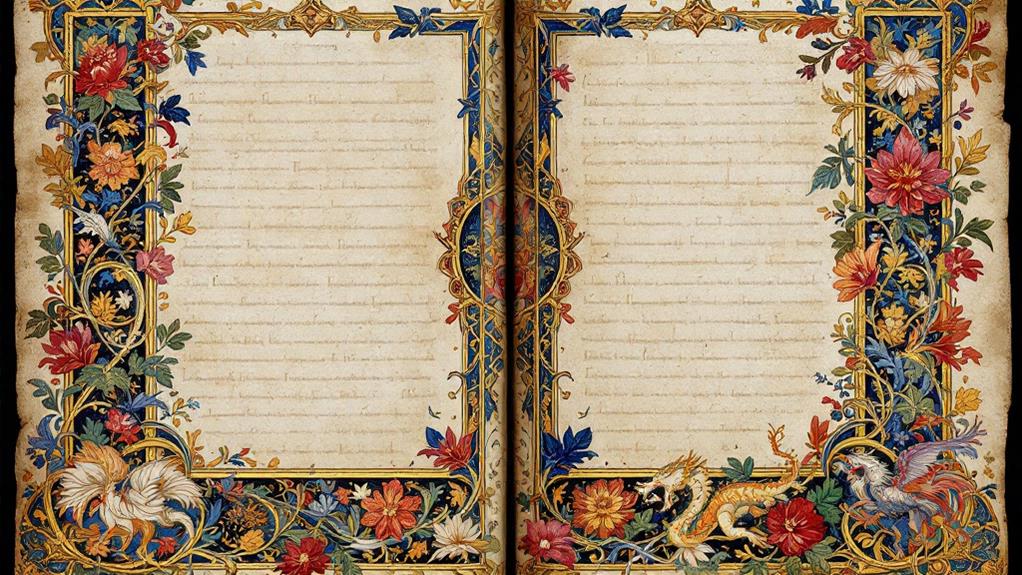
Preparation of Vellum
When preparing vellum for manuscript illumination, you'll want to focus on the key steps that guarantee a smooth and durable surface. Initially, the process begins with vellum sourcing. You'll need to select high-quality skins, typically from calves, goats, or sheep. These should be free from imperfections and blemishes to guarantee your final product is flawless. Once sourced, the vellum is soaked in a lime solution to loosen the hair and flesh, making it easier to scrape clean.
After cleaning, the next step involves stretching the vellum on a frame to dry. This tension is vital as it prevents wrinkles and creates a taut surface. As the vellum dries, you'll notice it transforms into a firm, yet flexible sheet. Now, it's time for surface treatment. Using a pumice stone or fine sandpaper, gently smooth the surface to remove any remaining imperfections. This guarantees that your ink and pigments will adhere properly. Finally, apply a thin layer of chalk or gesso to further improve the vellum's readiness for illumination. By following these steps, you're guaranteeing your manuscript will stand the test of time, both in durability and beauty.
Creation of Pigments
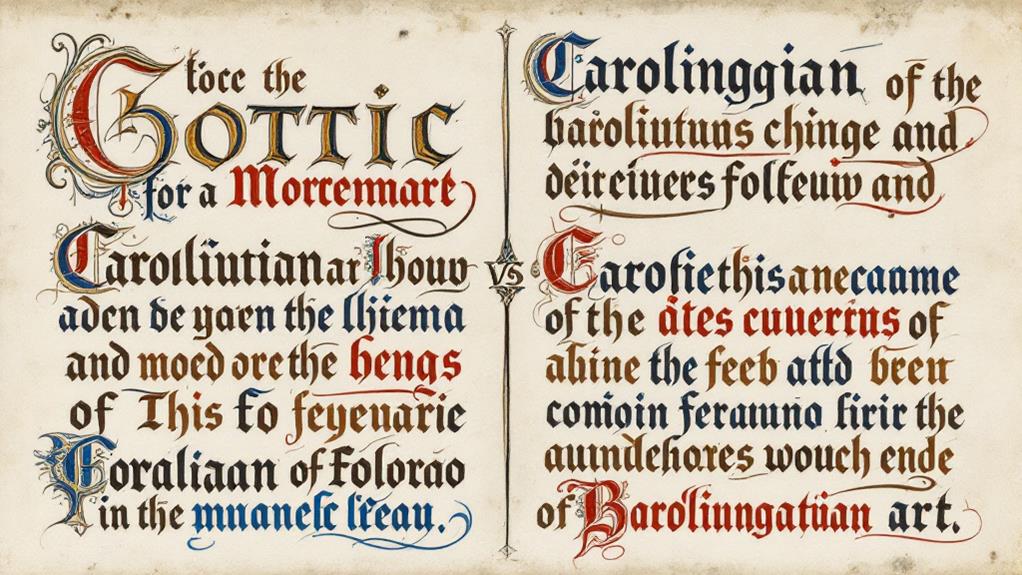
To initiate the creation of pigments for manuscript illumination, it is essential to understand the origins and preparation of these lively colors. You'll find that medieval artists sourced pigments from a variety of natural sources, each with unique properties and significance. For instance, the deep blue ultramarine was derived from lapis lazuli, a precious stone imported from Afghanistan, symbolizing the divine and the infinite. You might be surprised to learn that the brilliant red came from crushed cochineal insects or cinnabar, reflecting power and passion in the artwork.
To create these pigments, you'd initially gather the raw materials and then grind them into a fine powder. Combining the powder with a binding agent, like egg yolk or gum arabic, transformed it into usable paint. It's a careful process, but it guarantees the colors remain vivid and long-lasting.
Understanding color symbolism is also important. For example, green signified growth and fertility, while gold (from natural sources like ochre) represented wealth and purity. By mastering these techniques, you're not just mixing paints; you're infusing each page with layers of meaning and history, breathing life into every illuminated manuscript.
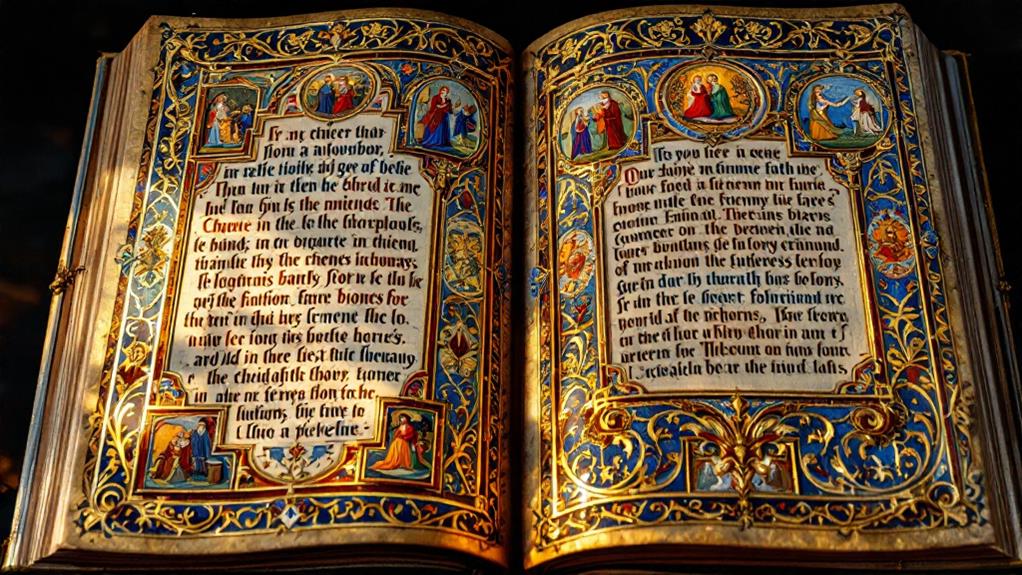
Application of Gold Leaf

Having mastered the creation of lively pigments, you're ready to move on to one of the most striking techniques in manuscript illumination: the application of gold leaf. This technique involves affixing thin sheets of gold onto your manuscript to create a brilliant, reflective surface that catches the eye. You'll initially need to choose from different gold leaf types, including genuine, which is pure gold, or imitation, which is a mix of metals like brass. Genuine gold leaf provides unmatched luster, while imitation offers a more affordable option with a slightly different hue.
Next, let's investigate application methods. Begin by preparing your surface with a gesso or glue base, ensuring it's smooth and slightly tacky. This base acts as an adhesive for the gold leaf. Carefully lay the gold leaf onto the prepared area, using a soft brush or your breath to gently press it down, smoothing out any wrinkles. Be patient; this delicate process requires a steady hand and focus. Once applied, burnish the gold leaf gently with an agate tool to improve its shine. With this skill, your manuscript will truly gleam with medieval splendor.
Intricate Detailing Techniques
Delving into intricate detailing techniques, you'll reveal new layers of beauty and complexity in your manuscript illumination. Mastery of these techniques requires patience and a steady hand, but the results are stunning. Start by understanding the significance of layering techniques. By applying multiple translucent layers of paint, you can create depth and richness in the colors. Each layer interacts with the others, producing subtle variations that bring your designs to life.
Brush control is similarly essential. A controlled hand allows for precision in the finest details, from delicate floral patterns to tiny figures. Use a variety of brush sizes to suit the level of detail required, and practice maintaining a steady pressure for consistent lines. The consistency of your paint also matters; it should flow smoothly but not be too runny, ensuring crispness in your detailing.
Don't rush the process. Take your time with each stroke, and let the details build gradually. This careful attention to detail not only improves the visual impact of your manuscript but also showcases your skill and dedication to the craft. With practice, your illuminated manuscripts will truly be masterpieces.
Binding and Preservation
When your intricate detailing is complete, the next crucial step is binding and preserving your illuminated manuscript. Making sure your masterpiece remains intact requires careful selection of binding materials and effective preservation methods. Here's how you can achieve this:
- Choose the Right Binding Materials: Opt for durable materials like leather or vellum. These not only provide strength but also complement the manuscript's aesthetic.
- Sew the Folios Together: Use sturdy threads to sew your pages into sections. This traditional technique guarantees that each page stays securely in place.
- Attach a Protective Cover: A robust cover shields your work from dust and damage. Leather is a popular choice for its protective qualities and timeless appeal.
- Implement Preservation Methods: Store your manuscript in a climate-controlled environment. Keep it away from direct sunlight and maintain a stable humidity level to prevent deterioration.
Related posts