Techniques for Taking Pictures through Microscope
A microscope is an instrument utilized to take pictures of objects that are barely seen by our naked eye. The use of microscopy in clinical and natural sciences has helped uncover many secrets for a long time. It amplifies the images thousand times and makes the objects visible to us. The best thing about microscopes is that they can provide you with both static as well as dynamic images.
A dynamic image is produced by an optical magnifying instrument, whereas a static image is created by an electron magnifying instrument. The number of times the object appears enlarged is called the magnifying power of the microscope. The magnifying power is usually measured as 10x, 20x, etc. The other important factor is the resolution, which is the capacity to show minor details of the object. Resolution is usually expressed in micrometers.
Types of the Microscope
Since its advent, the microscope has passed through many steps of evolution to date.
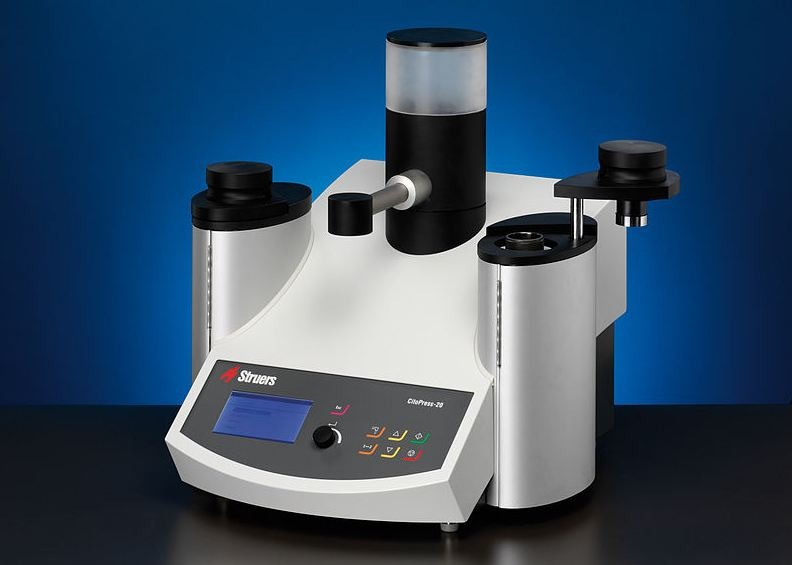
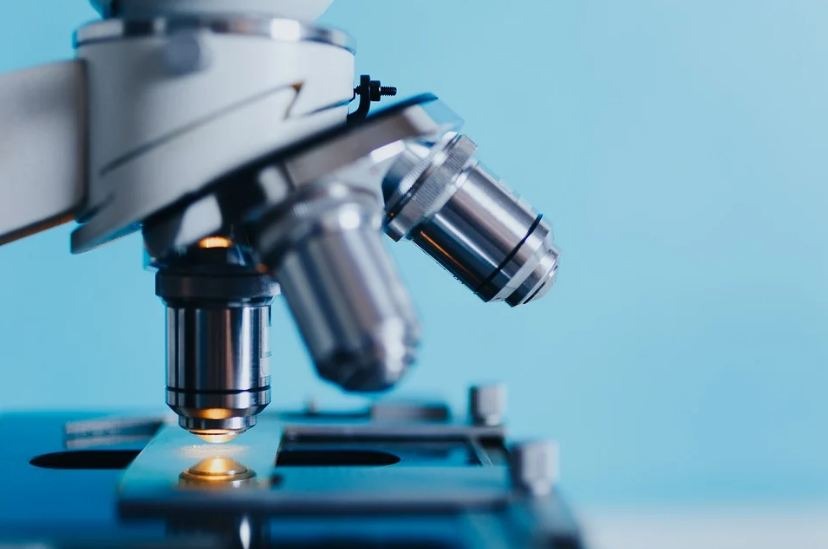
1. Light Microscope
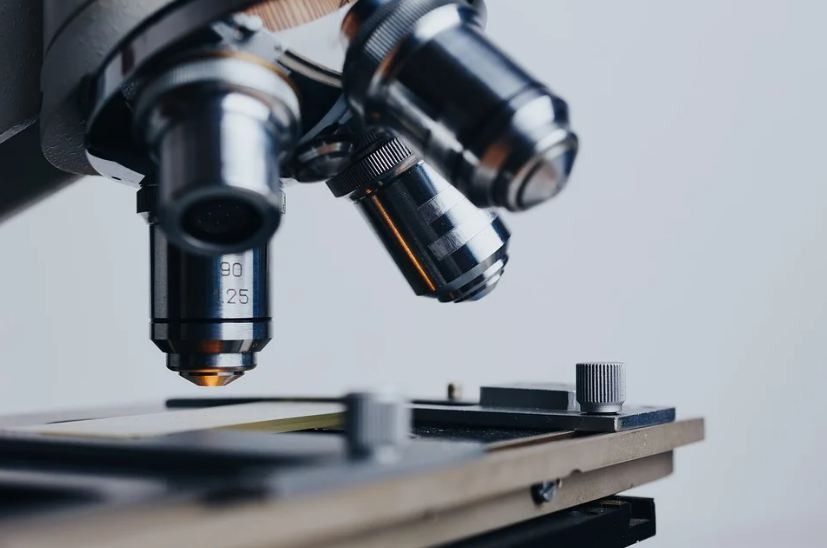
It is the most common type of microscope and is usually used in labs and for medical purposes. Scientists use light microscopes to visualize the minor details of organisms, including cells and tissues. Usually, a light microscope has the features of phase contrast, fluorescence, interference contrast, and photomicrography. There are several types of optical microscopes. Some of these are very simple, whereas others use a specialized lighting system called a compound microscope.
2. Electron Microscope
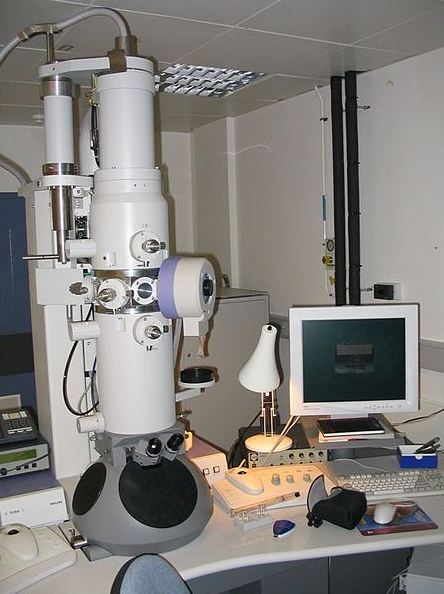
Have you ever imagined a beam of electrons thrown at your face to capture the minor details? Yes, the electron microscope works alike, except that the object is not your face. Some biological and non-biological sources are prepared and placed under the slides to capture the images.
It uses a transmitted electron beam instead of light to produce the image. If you are a medical or science student, you would be well aware of the process.
3. Metallurgical Microscope
These microscopes help in the examination of opaque objects like metals and their alloys. Metallurgic microscopes have an inverted illuminating system, and the stage may lack the usual central hole. The reflected light is transmitted back to the eyepiece. These may also be used for medical and forensic purposes.
4. Polarizing Microscope
These are the conventional microscopes with a polarizer and a rotating stage. You will see mineralogists, geologists, and chemists using this type of microscope. The objects which are visible through their anisotropic character are observed and photographed using a polarizing microscope.
5. Inverted Microscope
Inverted microscopes are used for underneath observation of the subject. In an inverted microscope, the condenser is above the stage, and the objective is below. This special arrangement is necessary for underneath observation of the specimen.
Let’s now talk about the techniques used for taking photographs using these microscopes.
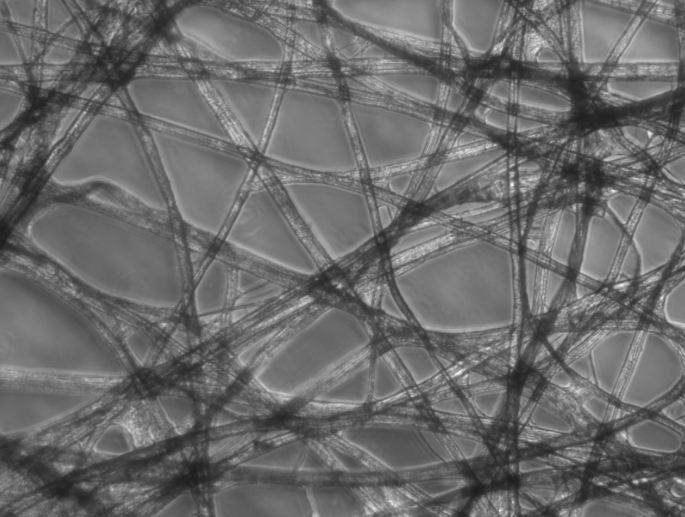
Photomicrography/Micrography
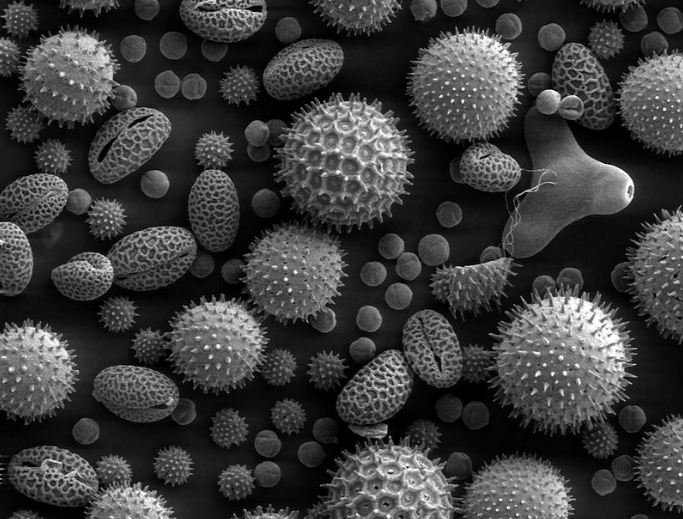
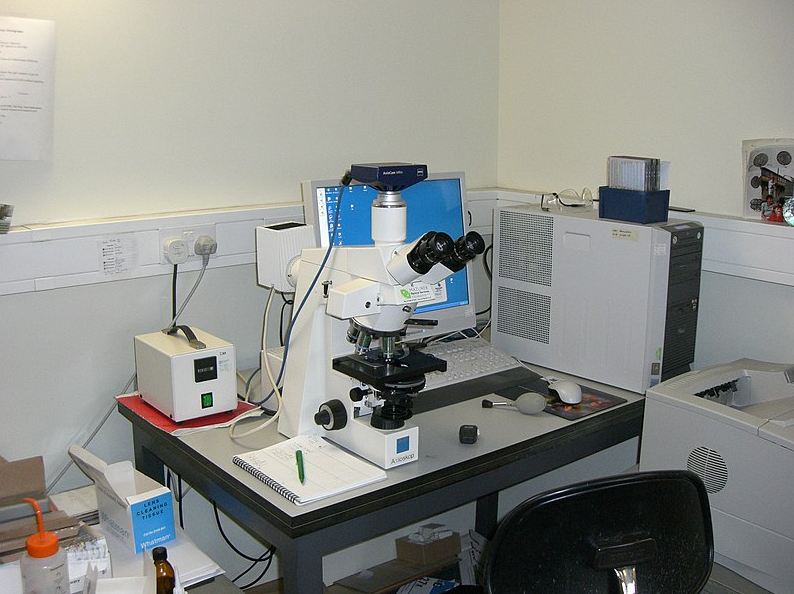
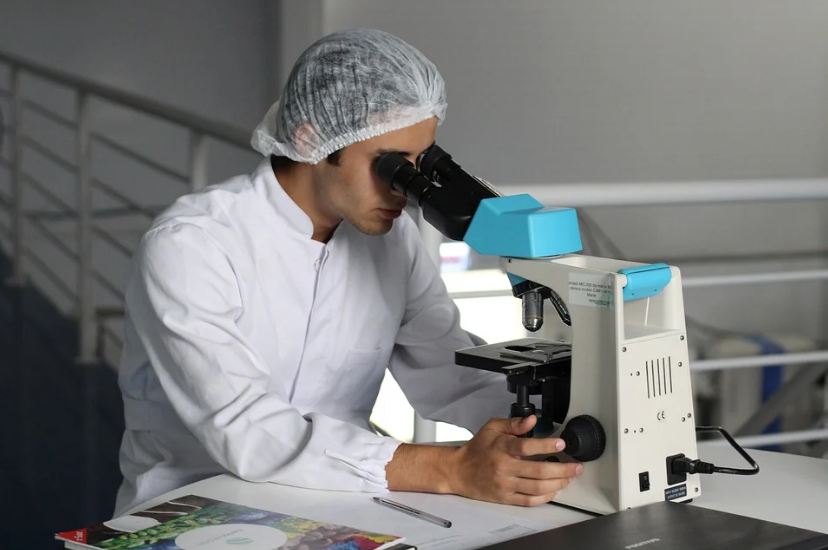
Microscopic images are used in science, engineering, and medicine. The process of taking these pictures is called photomicrography, while the pictures are called micrographs. Previously, films were used to create photographs, but nowadays, digital cameras are used for this purpose. It can be used to assist in clinical diagnosis and teaching purposes.
Photomicrography is also used for expressing artistic impressions across different platforms. The process normally requires a simple microscope, a camera port with a removable lens, and an adaptor through which the camera is attached to the port. The camera is attached to the eyepiece, and the image produced may be directly seen on the computer screens.
Photomicrography has introduced low-cost imaging possibilities, including time-lapse micrography, which was previously a complex and costly task. Mostly, an optical microscope is used to create the image. Relatively smaller objects can be photographed using a microscope.
Following are the various types of microscopic photography:
1. Close-up Photography
Taking photos at a distance of up to 4 to 10 times the lens’s focal length is close-up photography. The size of the film in the camera decides the dimensions of the field. The upper limit ranges from 24mm x 36mm to 95mm x 120mm.
2. Photomicrography
A compound microscope is used in photomicrography. In this process, two stages of magnification take place by positive lenses (objective and eyepiece). First, the images are magnified by objective, then it is reflected in the eyepiece to produce the final image. The eyepiece is used to magnify the image produced by the objective and produce a virtual image below it or a real image above it. A relatively higher range of magnification can be achieved by using this process.
Normally, the magnification ranges from 10x to 500x.
3. Photo Macrography
When the magnification is 1x or greater, it is called macro photography. The practical upper limit is 20x, but there is no theoretical upper limit for this process. The size of the field is the same or smaller than the film format.
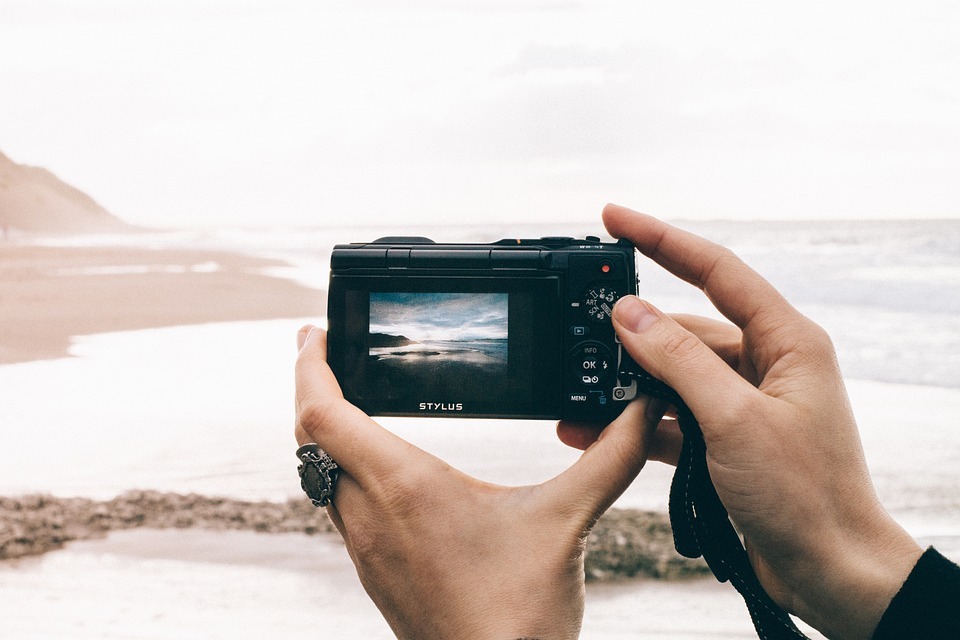
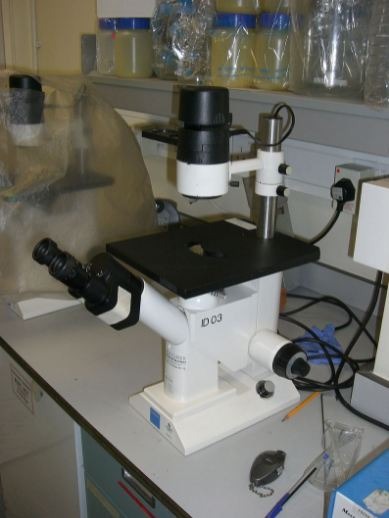
To produce an image, the microscopes should have a good lens, an illuminating system, a binocular tube for observations, and a separate monocular tube for accommodating the camera. The cameras used for photomicrography are not specially designed. Normal cameras or even smartphones can also be used to take pictures.
The photographer has to connect a microscope to the camera and know the technicalities of the process to create an interesting image. The microscopes specifically designed for photomicrography have an incorporated photographic system or a module attached to the top of the stand.
Any combination of a compact digital camera and the optical light microscope can be used without the need for specialized equipment.
Images produced by photomicrography can be immediately sent to other devices using email or other ways. This process is therefore very effective for clinical improvements in remote areas.
The procedure of taking pictures using a microscope is as follows:
- Examine the object with the naked eye. Note the area to be photographed.
- Use the microscope to set the required magnification.
- Use appropriate light sources. A special illuminating system is used to provide the desired light. Light is collected by a lamp, a lens, and a condenser, which condenses the light onto the object.
- If you are using a camera with film, choose the right film and load it in the camera. Digital cameras do not need films. The camera is held on the eyepiece of the microscope.
- Focus the camera on the object, move the object until the required area comes in view. The camera’s zoom function is used to increase the size of the photograph.
- To maximize the clarity of the image, the fine focus of the microscope is adjusted.
- For a clear image, the camera’s ISO system is increased or decreased depending on the model of the camera. Commonly, the higher the ISO, the more difficult it is to produce a clear image of the object.
- When everything seems fine, the image can be taken by holding the camera still. Shaking the camera while taking the final image may produce a blurred image that can be minimized by using a remote control to take the image.
Conclusion
This world of technology would never be the same without the invention of microscopes and microscopy. Microscopy helps us see the details of various objects and enlighten us with many facts. It would be otherwise impossible.
Microscopic photography has been employed for a long time. It is vital in all fields, like science, engineering, and medicine, etc. The icing on the cake is the fact that you do not need any special equipment. The only thing you need is a microscope and a camera.
Related posts