Importance of Light in Photography
If you are a professional photographer, you would know how various types of lighting can impact pictures differently. But if you are not, this article will help you in understanding why light is so important in photography. Every photographer, even without having proper knowledge of lighting, still takes the help of good lighting to click amazing shots. Without proper lighting, the pictures appear dim, dusty, or blurred.
Once you understand how the light affects the picture, you can take the pictures the way you want. The use of perfect lighting in photography can distinguish breathtaking photos from ordinary ones. Most of the photographers use lighting ratios, which is the quantity of light that brightens highlighted sides in contrast with the shadow side.
The word "photography" consists of two Greek words- photos means light and graphe means drawing. So as a whole, photography means drawing with light. This gives the idea that just like composition, white balance, exposure, and the story behind the picture, lighting is also a crucial element in photography.
Light is electromagnetic radiation, visible by the human eye. Most of us know the prime characteristics of light, which are temperature, brightness, and color.
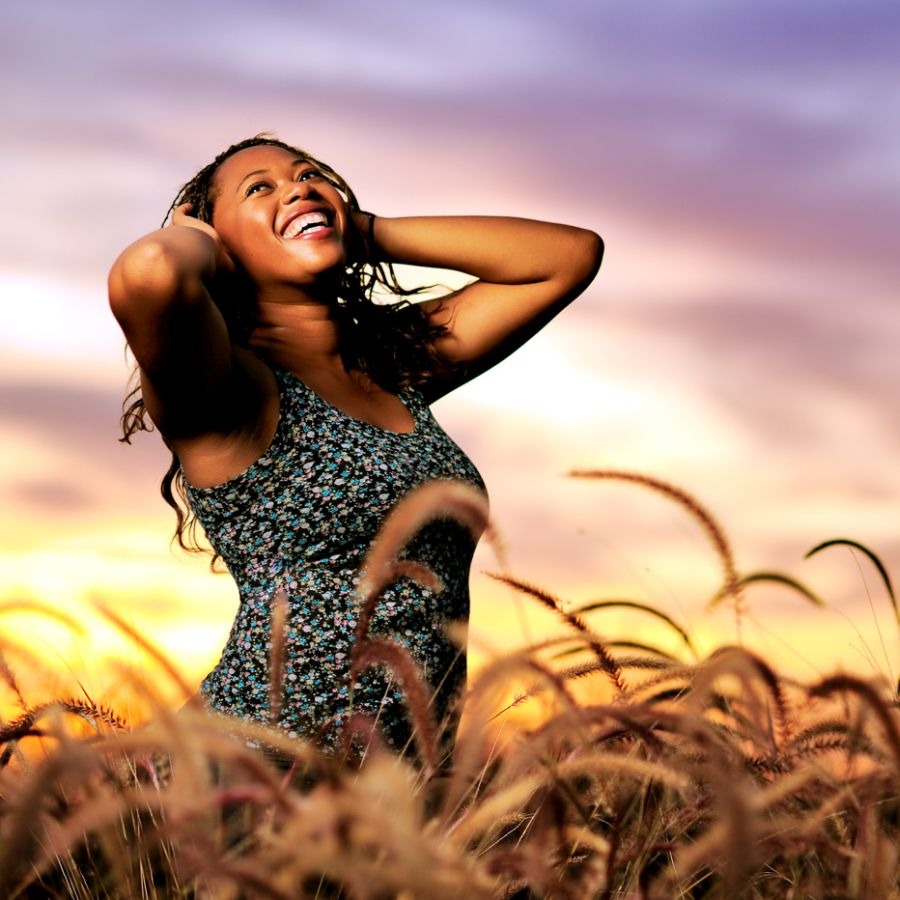
You need to adjust the color and temperature according to the intensity of the available source of light. When light is projected on the subject, it not only changes the position of the shadow, resulting in the change of angle and direction but also the feelings and impression. Hence, choosing the right light with a proper angle and direction is the fundamental step in the creation of great photographs.
To capture a picture, you press the shutter button of the camera, and the light enters through the lens and hits the film. Photographic film is enfolded with plastic emulsion, containing photosensitive silver halide crystals. These photosensitive crystals react with light and record the image. To develop the pictures, you have to take out the film and develop it with proper chemicals in the absence of light as it can destroy the recorded images.
Effects of Light on Photographs
Having both dark and light areas in the scene can sometimes cause the camera's light meter to produce overexposed or underexposed pictures. In such situations, the photographer can adjust the exposure settings according to the background lighting to get a clear and lighter picture.
Sources of light
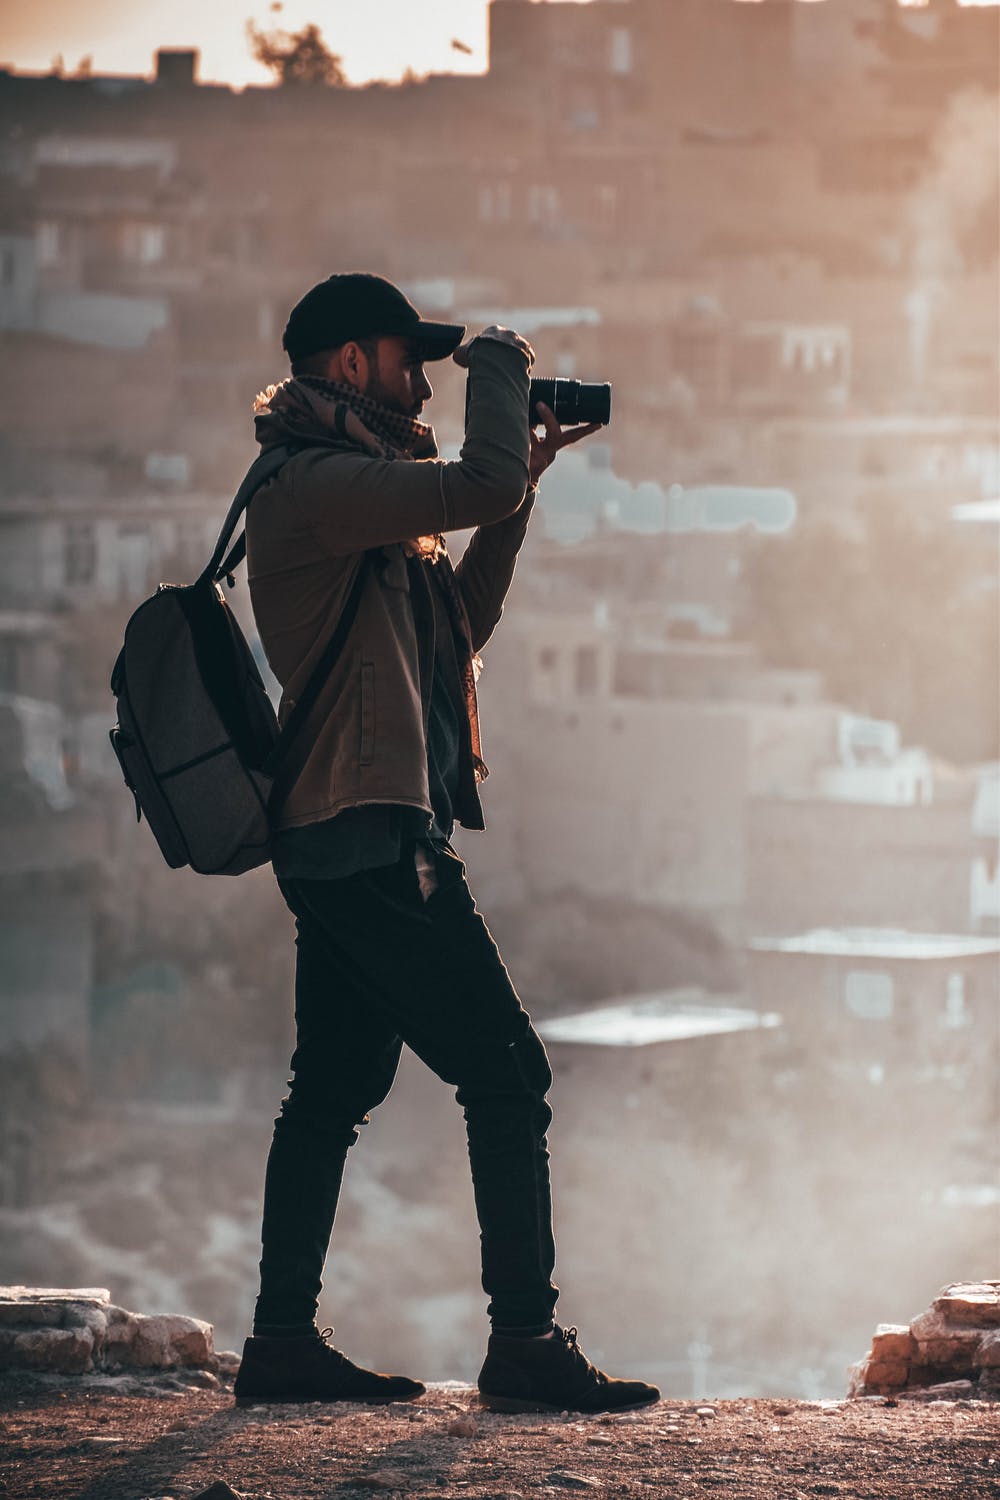
Two vital sources of light that photographs work with are natural and artificial lights. Natural light comes from the sun and the moon whereas, we can get artificial light from a candle, flash, a tungsten bulb, etc.
Both the sources are used by the photographers depending upon the individual preference and the requirement of the project. You cannot label one source to be the best since both have their advantages and disadvantages.
If you are photographing outdoors and want to take the best shots in ideal lighting, then check out our article on Top Portable Battery Powered Flashes for Outdoors.
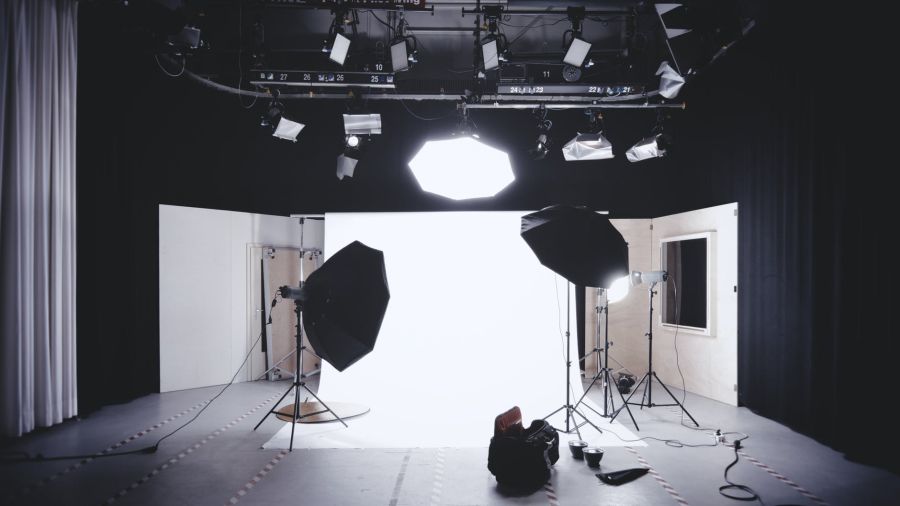
Use of Light in Photography
To take outstanding photographs, you can move the source of light or otherwise move the subject to adjust the position of the light. Moreover, the front lighting captures the boring and dull look by creating shadows and depth. To overcome this, you can use side lighting or place the light source or subject in a way that the light hits from the side.
Light Quality
No matter if you are working in your studio or outdoors, the quality of light is an essential component of any photograph. It can determine its visual impacts in the photo. Train your mind to work according to the available light and adjust the settings appropriately.
The qualities of light include color, intensity, and direction. Intensity is the amount of light that is being reflected by the background and the subject, whereas the direction of the angle influences the length and location of the shadow created by the subject.
Light Differs in Intensity
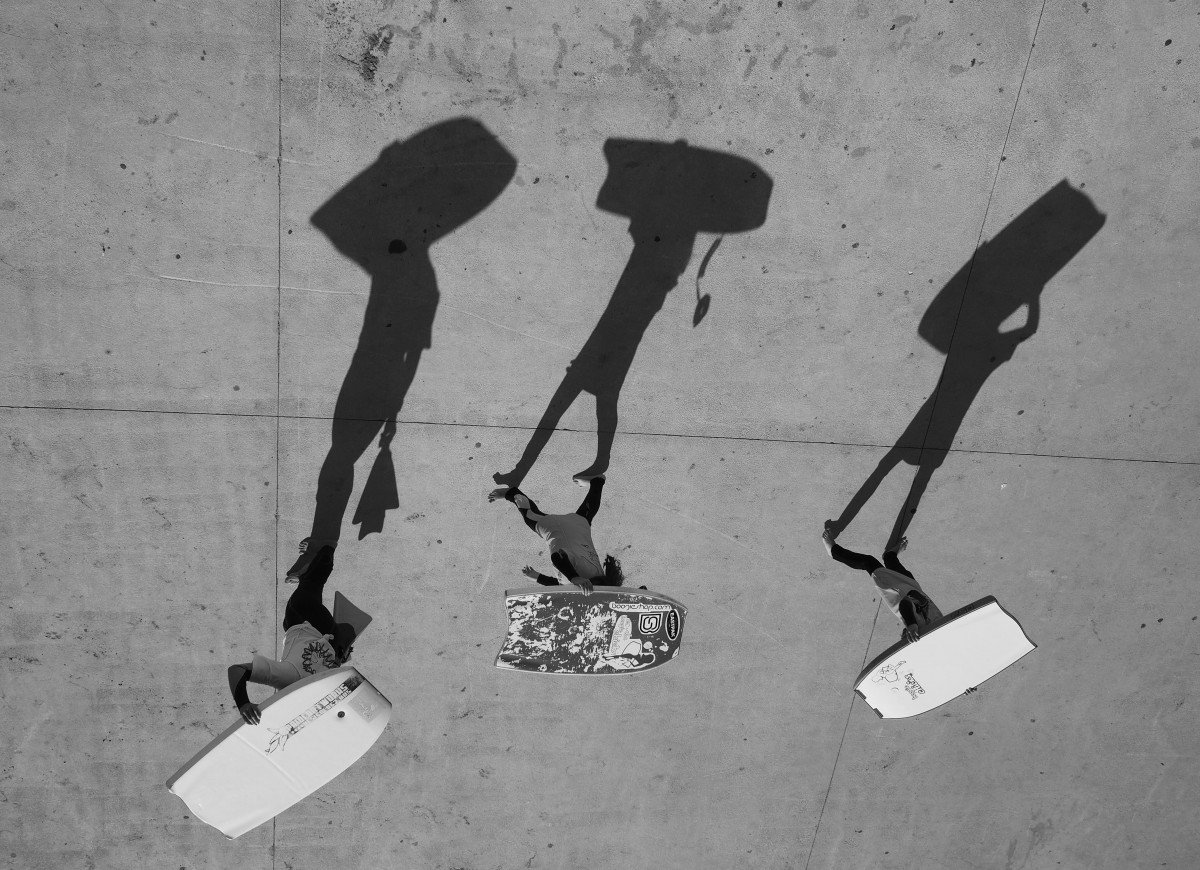
Light intensity signifies the depth of the shadow produced by the light. There are two well-defined levels of light intensity: hard light and soft light. All types of lights produce shades; hard light produces sharp shadows while soft light produces soft shadows. When you place the source of light at a greater distance from the subject, then it is the soft light. But when you place the source of the light close to the subject, it turns into hard light.
In short, you can use the same source of light as a hard and soft light by adjusting its distance with respect to the subject.
- Hard Light
Sun or a small bright light bulb is an excellent example of hard light. Hollywood cinematographers use hard light to introduce the sensation of mystery and suspense into the movie scenes.You can use the Hollywood lighting style as a reference to learn how to add light to your photography to make them look more professional and dramatic. Furthermore, it is not mandatory to use a lot of light in your photographs to make them appear bright – shadows in the pictures also attract the attention of the audience. - Soft Light
Soft light is perfect for food, nature, and portraiture type of photography since it creates fewer shadows. During morning and late afternoon, the light is much softer as compared to the time when the sun is burning at its peak. When the sun is at its peak, it creates hard light and results in sharp shadows.Avoid taking photos on a clear day and mid-day when the sun is right on top of you. However, if you have to take pictures in this weather condition, then what you can do is take photos under a tree or a shade.
You can also use portable LED lights to make your photos look sharp and well-balanced when shooting in low light.
Projecting Lights in the Photographs
Projecting light in your photographs means deciding whether you want to show the light source in the picture or not. Many people prefer not to show the light source in their pictures, but you can get interesting results by projecting the lights appropriately in your photos.
The best and common way is to capture the subject lit by the source light rather than showing the light as a part of the photo. You can try projecting lights in your way too.
Types of Lighting
- Natural Light
Capturing great shots using natural light requires good skills and proficiency. Natural light is the best source you can use to get the best shots. On a bright, sunny day, you can use the sun to get detailed and sharp shots. - Artificial Light
Many professional photographers use artificial lights because they are more convenient and predictable. Artificial light provides you persistent light to work for over an extended period. But this does not mean that natural light is not suitable; it has its own applicability.If you are a vlogger or makeup artist, you can invest in a high-quality ring light to bring the best out of your photos. - Fill Light
Fill light is a form of supplementary source of light to lighten the shadows in a picture. It is mostly used in portrait photography to produce a sense of depth. It does so by creating a contrast between the subject and the background
Final Words
Lighting is the critical element of capturing attractive, magnificent, and professional photographs. Therefore, you should learn the art of controlling and manipulating light to get fine quality, intense and brilliant colors in your photos. If you are interested in learning more about lighting and how it works, check out our Guide to Photography Lighting.