A Beginners Guide to Photography Lighting
If you are after creating a portrait, landscape, or a macro scene, lighting is the most important factor. Also, it is one of the most challenging aspects of getting a high-quality photo. In some cases, the lighting can be too harsh and bright. On other occasions, it can be too dim or low. In such cases, using a strobe or flash might be confusing as well. Therefore, there is a lot to learn in this field.
In this guide, we will take you through basic information about photography lighting along with some tips that will help you improve and make your photos stand out. So, let's get started.
Positioning your Light
Imagine you are in a room full of darkness, and the only source of light you have is a mini flashlight. Its position will play a major role in the overall look of the final image. In photography, sometimes you can easily move the light source; otherwise, you have to move the subject according to the position of the light.
Front Lighting
If you want to bring out the detail, then placing the light in the front of the person or object can play a major role. Wondering why? When the light is directly in the front, the shadows fall behind the object. So when there aren't any shadows in the image, the details won't be concealed. Although front lighting is simple to shoot, it may look rather flat or boring sometimes.
Side Lighting
Placing the lights on the side of your model or subject creates depth and shadows. Also, it fights the boring look that you get from front lighting. Side lighting is fairly simple to shoot – all you have to do is be careful and watch how the shadows fall. Side lighting doesn't mean that the light source should be at a 90° angle – minor adjustments can also change the way the shadows fall.
Back Lighting
Backlighting is the trickiest of them all. Therefore, you need to proceed with caution. If you don't have the understanding of manual mode or don't know how to use a light modifier, then you might end up with a silhouette. If you are a beginner, you should better avoid using backlighting. But that doesn't mean you have to ignore and never use it. Once you are comfortable in manual mode and learn how a light modifier works, backlighting can create super amazing pictures.
Moreover, backlighting also gives that nice pop and a halo effect to your portraits.
Types of Lighting in Photography
Soft Light vs. Hard Light
Different types of light sources have different qualities. If the light is diffused, it will create fewer shadows with softer differentiation between shadow and light. This is also called soft light. A cloudy day is the best example of soft light. Photographers prefer cloudy days to take photos because they can create a desirable look without working hard on adjustments.
If you want to make the light softer, you can use a diffuser. A diffuser is a piece of white plastic that spreads out the light and softens shadows. Another most important technique in soft-light photography is the use of bounce flash. It is a simple yet effective technique. By bouncing flash at a larger object, you can create a flash out of that object.
You can use a wall or ceiling (opposite to your subject) to bounce the light and diffuse it. Professional photographers use a beauty box to do so. These are large light setups that disperse soft light onto the subject.
On the other hand, hard light comes from a directional light, such as the sun, a spotlight, or a flash. Shadows created by hard light are very harsh. In portrait photography, the results are quite sharp that your clients might not be looking for. Hard light has an important place in photography but is usually used to create a moody or dark feeling in your images.
Artificial vs. Natural light
As the name suggests, natural light refers to daylight/sunlight, while artificial light refers to all the other kinds of light sources, including electric lights, fluorescent lights, strobe lights, flashlights, etc.
Unlike artificial light, natural light is less controllable, and it varies depending on the weather conditions, such as time of the day, weather, season, and geographical location. However, the best thing about natural light is that you don't require any equipment to play with the light, such as a diffuser, reflector, etc.
Photography Lighting Tips You Need To Try
If you are a photographer, you want to put your models or subject in the best lighting possible, especially if they are modeling an outfit, makeup look, or a hairstyle. Following are some photography lighting tips that can help you achieve that desired look you are after.
Broad Light - Soft Light
If you want to create a soft and smooth picture, then make sure to use a broad light source as it makes the light softer. When you use a broad light source, the shadows decrease, there is less contrast, and it hides those details that you don't want to show in the picture. On the other hand, if you use a narrow light source, you will have the opposite results.
The narrow light will hit your subject directly and create more defined shadows and even highlight the texture.
Closer Light - Hard Light
No matter what light source you are using, if you put it closer to your subject, it will make harsh shadows in the picture that won't look good. Therefore, the only logical thing to do here would be to move the light away from your subject. When you move the light source further from your subject, it gets smaller and produces even spread of light.
Use a Diffuser to Make Your Light Soft and Broad
The next time you head outside on a cloudy day, notice that the light isn't as bright and the shadows are softer when the clouds cover the sun. Add a bit of fog into the scene, and the shadows will diminish completely. A diffuser also works similarly – you have to place it over your hard light, and it will produce soft and even light.
When setting up an indoor photoshoot, you can use softbox light kits to achieve the same smooth effect. If you want to do indoor photography but don't have much light, then you might want to check out these 8 Best Portable LED Lights for Photography.
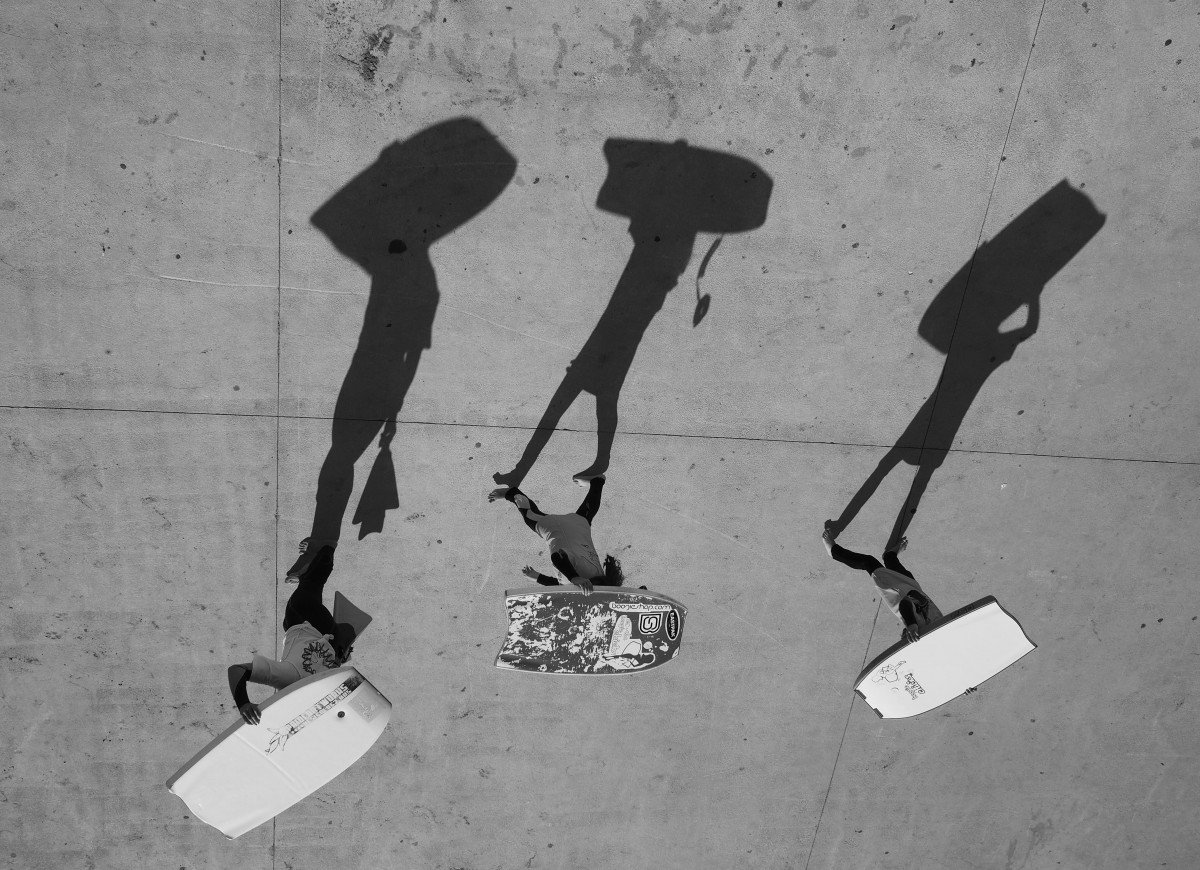
The Role of Shadows
If you want dark shadows of your subject to appear in the background, then you can place the light source close to your subject. If you move the light source away from your subject, you will get a brighter backdrop. However, it depends on the desired look and the type of photography you are doing. Just don't put the light source too close to your subject, or you will end up creating bad pictures.
Front Lighting for the Emphasis on Texture
The closer you place the light source to your subject, the lesser the texture will appear. For example, if you are photographing a senior with the light close to his face, the camera won't pick all those details and texture, such as wrinkles or other imperfections.
On the other hand, if you are taking a picture of a beautiful landscape, you want the light to come from the side so that it can emphasize the various textures of the rocks, flora, and even the sand.
Color Temperatures
When talking about the color of light, it is called "color temperature." Our brain and eyes adjust our perception and are unable to notice all the different colors. However, high-tech sharp sensors of our cameras are able to capture that color. For example, pictures that are captured in the early hours of the morning and later in the afternoon will have a warm tone. On the other hand, there will be a blueish tone to photos that are clicked during midday. Thanks to white-balance and color temperature settings in your cameras, you can easily adjust the tone and color of the scene.
Wrap Up
Photography lighting isn't as complex as it sounds. You can start with the basics of photography lighting techniques and will gradually master all the fundamentals in no time. Best of luck!