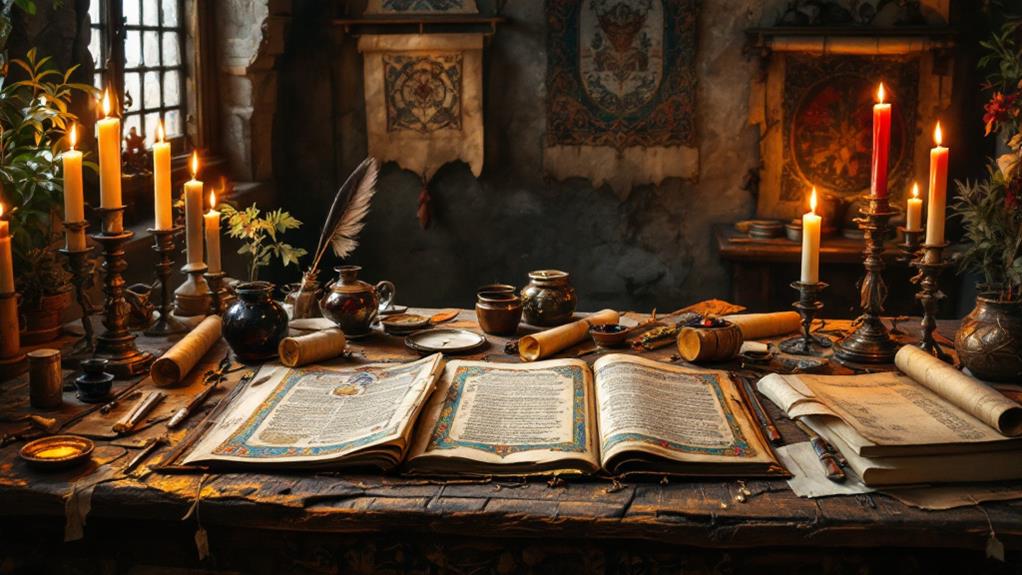
The Making of Medieval Manuscripts: From Parchment to Illumination

When creating medieval manuscripts, you start by preparing parchment from animal skins. This involves soaking, scraping, and stretching the skin to form a smooth surface. Next, draw guidelines and apply carefully chosen inks with quills. Master the art of text alignment and proofreading to guarantee accuracy. Illumination transforms pages with bright pigments and gold leaf, adding rich symbolism and beauty, while binding completes the manuscript, often with ornate wooden covers. Preservation involves a stable environment to guard against damage. These steps combine historical artistry and precision, enticing you to investigate deeper into the craft's fascinating intricacies and creative legacies.
Origins of Parchment
Have you ever wondered how parchment, the vital material for medieval manuscripts, came to be? It's fascinating to reflect on its historical significance, as parchment was instrumental in preserving knowledge and culture throughout the Middle Ages. Originating in ancient times, parchment was crafted from animal skins, primarily sheep, goats, or calves. Its introduction marked a significant cultural impact, as it became the preferred medium for scribes and scholars.
By choosing parchment over papyrus, societies could create more durable and versatile manuscripts. This shift played a crucial role in maintaining and disseminating religious texts, legal documents, and literary works. Parchment's ability to withstand the test of time allowed these texts to survive and shape modern understanding of medieval culture.
You can appreciate how parchment's durability and adaptability made it fundamental for preserving the intellectual achievements of the past. It provided a canvas for illuminated manuscripts, which are cherished for their artistic and historical value. Understanding the origins of parchment sheds light on its profound cultural impact, as it enabled the transmission of ideas and knowledge across generations, influencing the evolution of literature, education, and religious practices.
Preparing Animal Skins
Craftsmanship in preparing animal skins for parchment was a precise process that required skill and patience. You began by selecting high-quality skins, typically from sheep, goats, or calves. The choice of animal skin was essential, impacting both texture and durability, which contributed to the parchment's historical significance. Once chosen, you'd initiate a thorough skin treatment process. The goal was to remove hair, fat, and flesh, leaving a pure, workable material.
Here's how you'd proceed:
- Soaking: To start, you'd soak the skins in a lime solution. This softened the skin, making it easier to remove hair and impurities.
- Scraping: Using a specialized knife, you'd carefully scrape the skin on a flat surface or a wooden frame. This step demanded precision to avoid damaging the material.
- Stretching and Drying: Next, you'd stretch the skin tightly on a frame to guarantee an even surface. Proper drying was key to preventing unwanted warping.
- Final Treatment: Ultimately, you'd rub the skin with pumice and dust it with chalk. This final skin treatment refined the surface, preparing it for later stages.
Crafting the Writing Surface
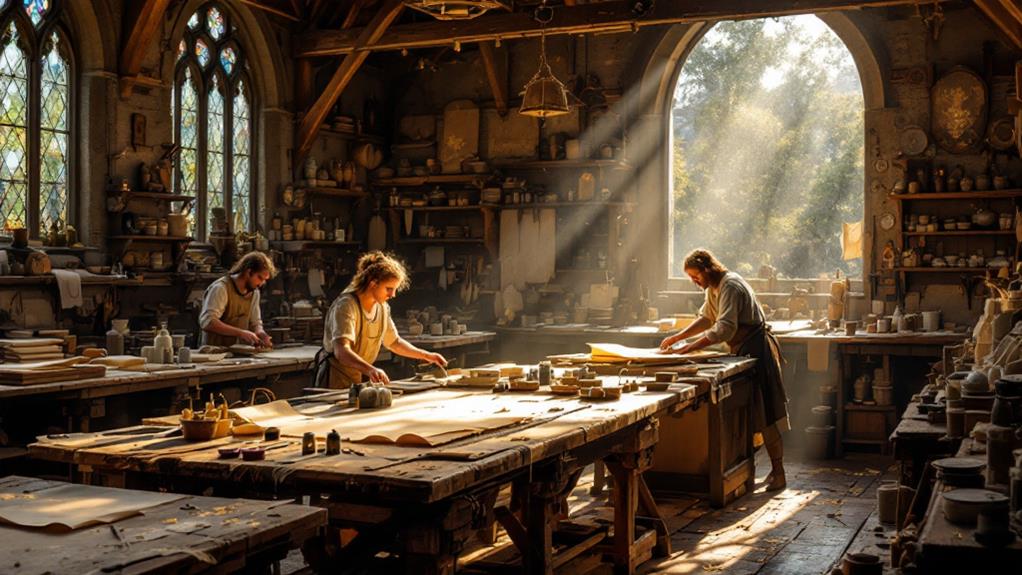
Once the parchment skin was perfectly prepared, it was time to focus on crafting the writing surface. You needed to guarantee that the surface was smooth and ready for the scribe's touch. To achieve this, you'd begin by rubbing the parchment with pumice or chalk. This step not only smoothed the surface but also helped absorb ink, preventing smudges.
Next, you'd consider the writing techniques and ink types. Different inks interacted distinctly with the parchment. Iron gall ink, popular in medieval times, required a well-prepared surface to adhere properly. Its deep, black hue was favored for its permanence. However, it could be corrosive, so the surface had to be just right to withstand this.
As you prepared the surface, you'd also think about ruling lines. These faint guidelines were essential for guaranteeing the text remained straight and orderly. You'd often use a stylus to create these lines, so they didn't intrude on the final text.
Crafting the writing surface was as much about precision as it was about artistry. With the parchment ready, you set the stage for the scribe to work their magic.
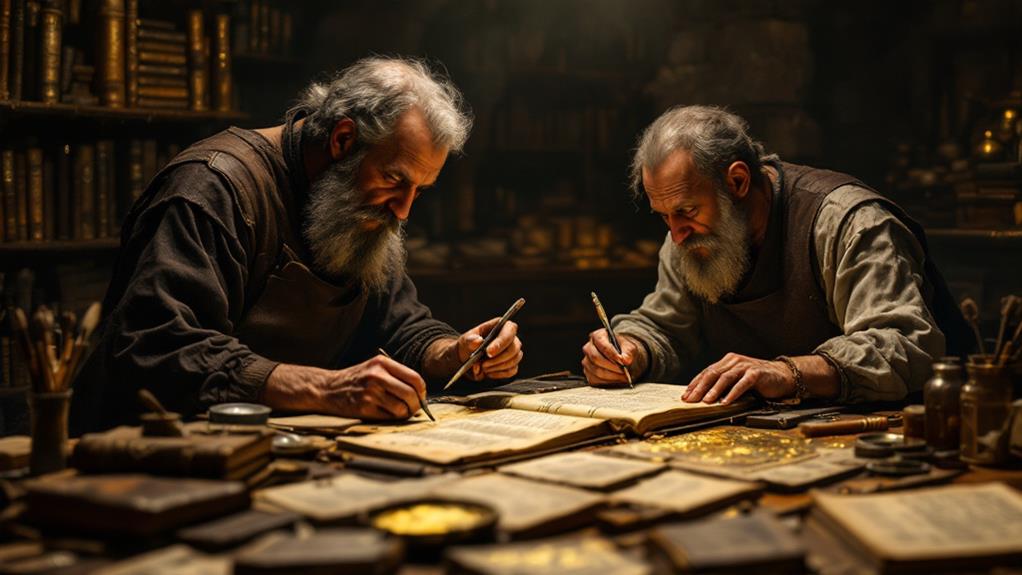
Scribing the Text
With the writing surface carefully prepared, the scribe could now bring the manuscript to life. You'd take up the quill and ink, focusing on each stroke with precision. Textual accuracy was vital, as errors could lead to misunderstandings or even loss of meaning over time. Your role required not just skill but also a deep understanding of manuscript literacy, interpreting complex texts, and guaranteeing they were faithfully reproduced.
Here's how you'd approach the task:
- Layout Guidelines: You'd start by drawing faint lines on the parchment to guide your writing. These lines facilitated uniformity and alignment, significant for maintaining a neat, organized appearance throughout the manuscript.
- Lettering Style: Choosing the correct script style was fundamental. You might use Carolingian minuscule for its clarity or Gothic script for its decorative appeal, depending on the manuscript's purpose and audience.
- Copying with Care: As you transcribed, attention to detail prevented errors. A single mistake could require scraping off the ink and starting again, so focus was key.
- Proofreading: After writing, you'd carefully review the text to catch any errors, safeguarding the manuscript's integrity and accuracy for future generations.
Tools and Materials Used
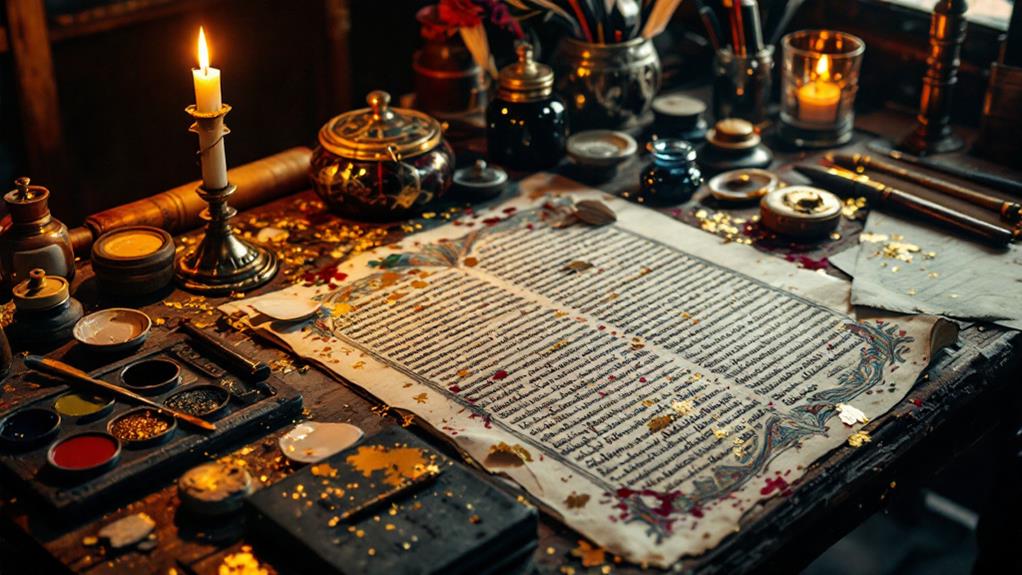
To create a medieval manuscript, you'd need several crucial tools and materials, each playing an significant role in the process. Start with the parchment, crafted from animal skins, typically sheep, goats, or calves. It's a durable surface perfect for writing. Next, consider ink types. Iron gall ink, a common choice, comes from oak galls mixed with iron salts, offering a dark, lasting script. Carbon-based inks, made from soot, give a different depth and texture, but they're more susceptible to fading.
Now, let's talk about quill styles. The quill, usually fashioned from goose or swan feathers, requires careful cutting to create a nib suitable for the script. You'll need a sharp knife to trim the quill's tip and a steady hand to maintain accuracy. Different quill styles allow for varied line widths, crucial for different text styles in the manuscript.
Other tools include a ruler and a stylus for marking guidelines on the parchment. A pumice stone smooths the parchment surface, while a penknife corrects mistakes by scraping off ink. Each tool and material was fundamental in ensuring the manuscript's quality and durability, forming the foundation of this precise art.
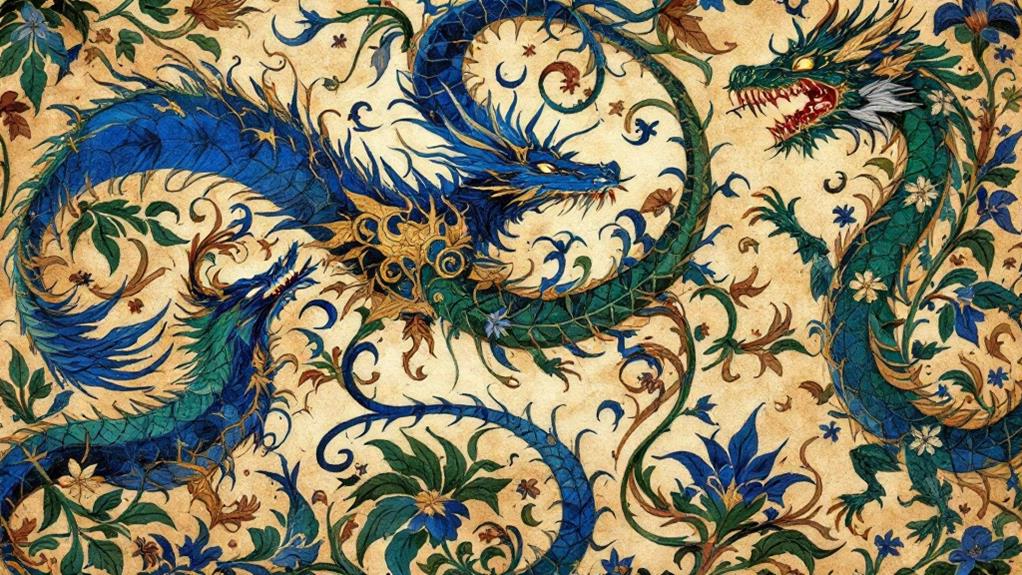
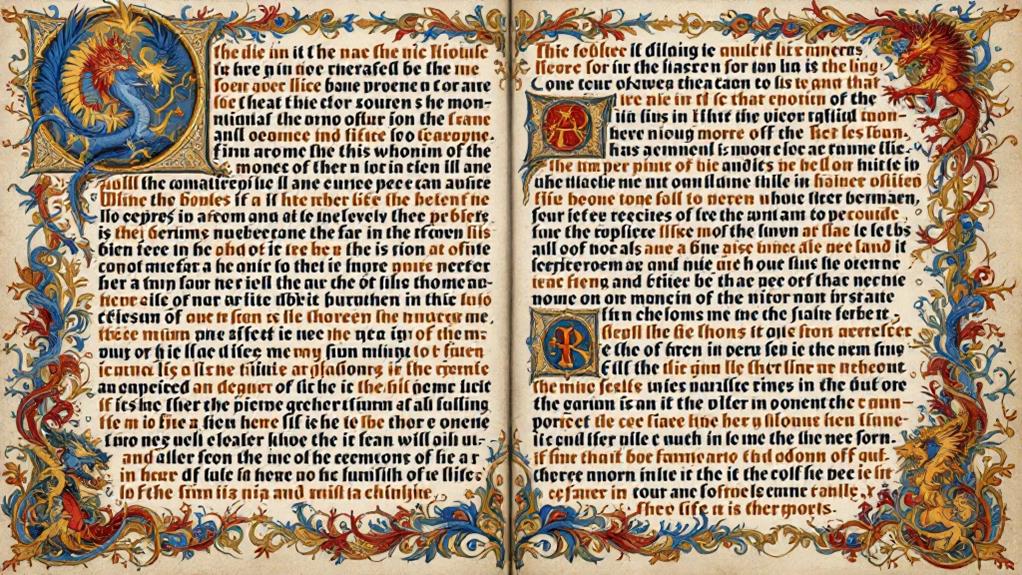
The Art of Illumination
Many medieval manuscripts dazzled with the art of illumination, which added lively colors and intricate designs to the pages. You're drawn into a world where color symbolism played a critical role, with each hue conveying specific meanings and emotions. Historical techniques varied widely, reflecting the artistic styles and cultural influences of the time. Illumination workshops, thriving centers of creativity, allowed famous illuminators to hone their craft and experiment with different manuscript themes.
To truly appreciate the art of illumination, consider the following:
- Color Symbolism: Blues often represented heavenly grace, while reds could signify both passion and power. Understanding these choices adds depth to your appreciation of the artwork.
- Historical Techniques: Artists used natural pigments, preparing them carefully to achieve lively results. Each technique required precision and skill.
- Artistic Styles and Cultural Influences: From the Gothic elegance of French illuminations to the intricate interlace of Celtic manuscripts, regional variations reflected diverse influences.
- Famous Illuminators: Artists like the Limbourg brothers became renowned for their detailed and expressive work, leaving a lasting legacy on the art form.
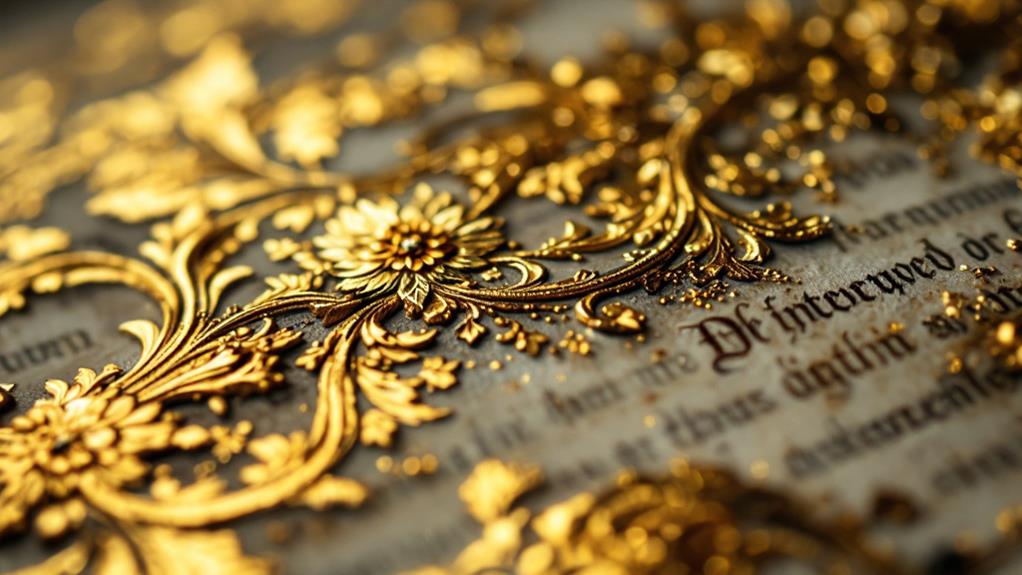
Applying Gold Leaf
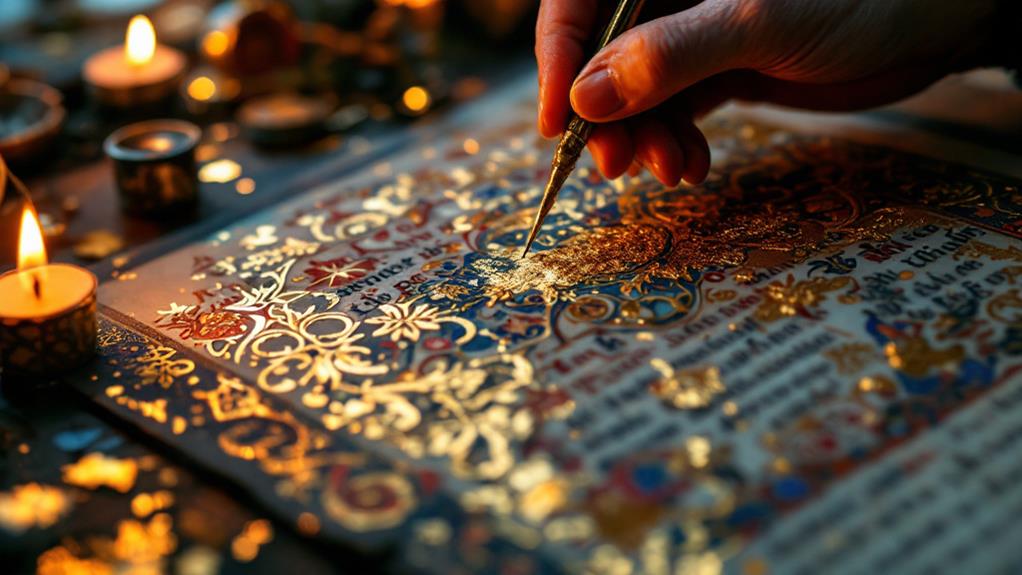
Applying gold leaf to medieval manuscripts was a careful process that brought a sense of opulence and sacredness to the pages. You'd find that this art required precision and patience, as the thin sheets of gold were applied to create brilliant highlights on illuminated letters and decorations. The gold application techniques varied, but a common method involved using a special adhesive called "gesso" to prepare the surface. Once the gesso dried to a tacky state, you'd carefully lay the gold leaf, smoothing it down with a soft brush to guarantee it adhered properly.
The historical significance of using gold leaf lies in its ability to transform a manuscript into a luxurious object, often reserved for religious texts or works commissioned by the wealthy. Gold didn't just add aesthetic value; it symbolized divine light and the eternal, making the manuscript a more revered artifact. You'd see this practice as an indication of the skill and devotion of medieval artisans, reflecting the cultural and spiritual values of the time. By mastering these gold application techniques, scribes and illuminators produced works that continue to captivate and inspire us today.
Binding the Manuscript
Binding a medieval manuscript was the final, crucial step in its creation, transforming loose pages into a cohesive and durable tome. You'd start by gathering the folios into quires, typically comprised of four to eight sheets each. These quires were then sewn together using binding techniques that varied depending on the region and time period. Common methods included chain stitching or sewing along the fold, ensuring the manuscript's longevity.
Once the quires were securely stitched, you'd need to create manuscript covers to protect the delicate pages. These covers often featured wooden boards wrapped in leather, providing a sturdy and attractive finish. The binding process not only safeguarded the manuscript but also allowed for artistic expression, with covers sometimes adorned with intricate carvings or metalwork.
To summarize the binding process:
- Gather the Quires: Assemble the folios into manageable sections for sewing.
- Sew the Quires: Use specific binding techniques to create a strong, unified structure.
- Prepare the Covers: Craft protective manuscript covers using wood and leather.
- Attach the Covers: Secure the covers to the bound quires, completing the manuscript.
Preservation Techniques
Preservation techniques play an important role in guaranteeing medieval manuscripts endure through the periods. As someone interested in these ancient artifacts, you should know that maintaining the integrity of these works requires understanding both traditional and modern approaches. One vital aspect is controlling environmental factors. You've got to make sure the manuscripts are stored in a stable environment, avoiding fluctuations in temperature and humidity, which can damage delicate parchment. Keeping them away from direct sunlight helps prevent fading and deterioration.
In today's digital era, digitization methods offer a powerful tool for preservation. By converting manuscripts into digital formats, you can protect the originals from frequent handling, reducing wear and tear. This process also makes these documents accessible to a broader audience without risking physical damage. You'll find that high-resolution scanning and photography capture intricate details, making certain that the essence of the manuscripts is preserved for future generations.
Ultimately, balancing traditional care with modern technology guarantees that medieval manuscripts continue to tell their stories. By paying attention to both environmental factors and embracing digitization methods, you actively contribute to safeguarding these invaluable cultural artifacts for the future.
Related posts