The Art of Folio Production: How Historical Folios Were Made
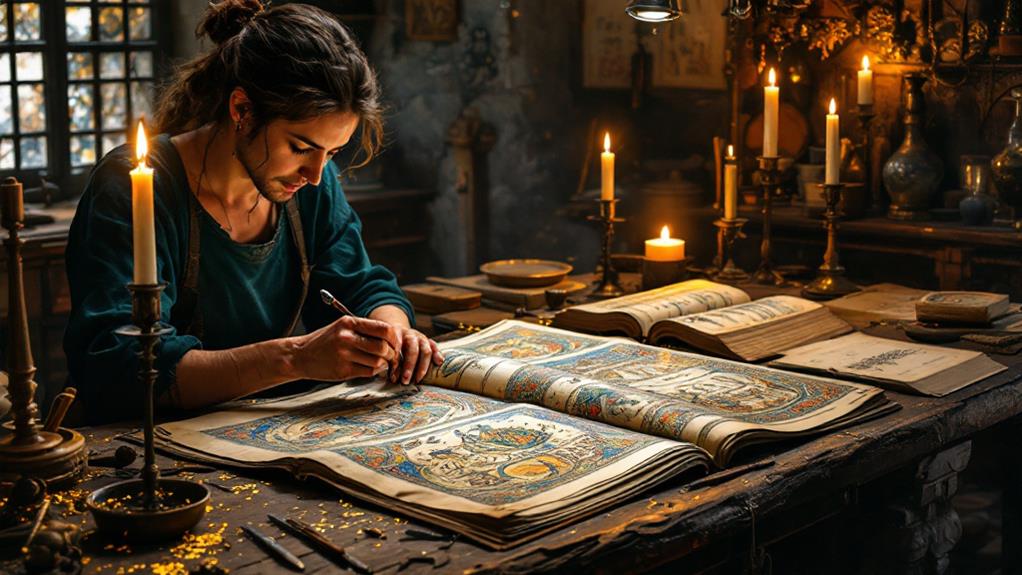
When exploring the art of historical folio production, you start by selecting the right parchment, evaluating its texture and durability to match the document's purpose. Next, preparations transform the parchment into a smooth writing surface with treatments like pumice polishing and chalk priming. Crafting quills from goose or raven feathers, paired with carefully mixed inks, guarantees each stroke flows effortlessly. Scribes employ precise penmanship, performing the crucial task of preserving texts. Rich illustrations and gilding transform these pages into lively works of art. Binding assembles these elements into a cohesive folio. With more details, you'll glimpse the past's dedication to folio creation.
Selecting the Right Parchment
In relation to selecting the right parchment for your folio production, understanding the qualities that make a good parchment is fundamental. You need to start with parchment sourcing. Different regions offer unique characteristics due to their production techniques and local climate. By examining regional variations, you can identify which parchment will best suit your needs.
Texture comparison plays a significant role in quality assessment. Feel the parchment between your fingers, noting its smoothness or graininess. This texture will affect how inks or pigments adhere to the surface. Consider the historical significance of the parchment, as certain types were traditionally used for specific documents or purposes.
Assessing the durability factors is another important step. Parchment's longevity depends on the quality of the animal skin used and the techniques employed during production. Remember to match the parchment's durability with your intended usage purposes. For instance, if your folio will be frequently handled, opt for a more resilient parchment.
Preparing the Writing Surface
Preparing the writing surface is a crucial step in folio production that directly impacts the quality of your work. To achieve a smooth, even texture, you must focus on effective surface treatments. Start by selecting a high-quality parchment. Once you have it, stretch it tightly on a frame to keep it taut. This prevents wrinkles and helps the writing techniques you'll use later to flow seamlessly.
The next step is to polish the surface. Use a pumice stone or fine sandpaper to gently rub the parchment. This abrasion removes imperfections and creates a texture ideal for ink adherence. Once you've polished the surface, apply a thin layer of chalk or gesso. This priming step improves the parchment's brightness, so your ink will stand out vividly.
After applying the primer, use a clean, dry cloth to buff the parchment until you achieve a satin-like finish. This step guarantees that your writing instrument glides smoothly, making precise lettering easier. Remember, the care you put into preparing the writing surface lays the foundation for all subsequent writing techniques. Your attention to detail now will shine through in the final folio product.
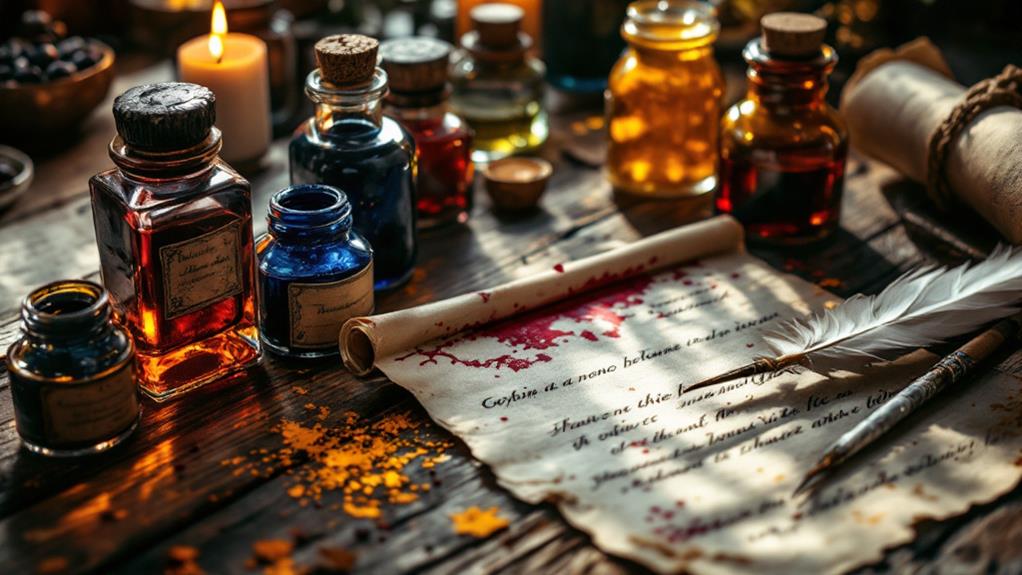
Crafting the Quill and Ink
To create a folio that captures both art and precision, you must master the craft of making your own quill and ink. Begin by selecting the right quill types, as each offers its unique flair. Goose feathers are a classic choice, known for their durability and flexibility, while swan quills provide a larger, more robust writing tool. For finer work, consider using crow or raven feathers, which offer a more delicate touch.
Once you've chosen your quill, it's time to prepare it. Trim and shape the tip to achieve a sharp point that smoothly glides over your parchment. Remember, the angle and cut of your quill affect the thickness of your lines, allowing you to control the style of your script.
Next, explore ink recipes to find the perfect blend. Iron gall ink, made from oak galls, iron salts, and gum arabic, is a traditional choice for its deep, lasting color. Alternatively, try carbon-based inks for a rich black finish. Preparing your ink involves mixing and stirring with precision, ensuring the right consistency and flow. With your handcrafted quill and ink, you're ready to transform your folio into a masterpiece.
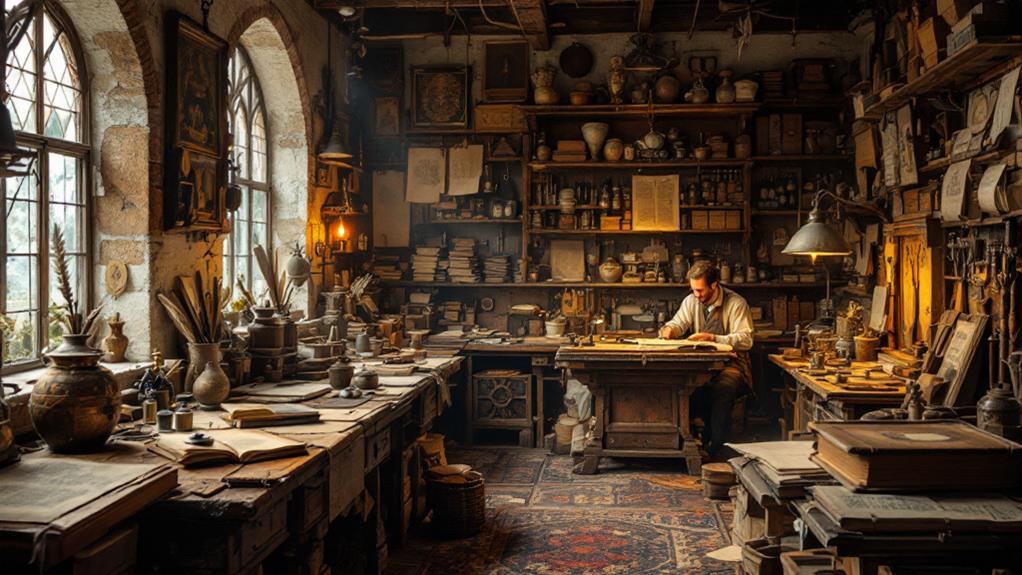
The Role of the Scribe
As you investigate the world of folio production, understanding the role of the scribe becomes essential. Scribes were the backbone of manuscript creation, responsible for painstakingly transcribing text onto folios. Their role required a unique blend of artistry and precision. Scribe training was rigorous, often beginning in monastic schools where apprentices learned the intricacies of penmanship, grammar, and languages. Mastery over these skills guaranteed the accuracy and beauty of the text, a crucial component of any folio.
Armed with historical tools like quills, ink, and parchment, scribes brought words to life with each deliberate stroke. The quill, shaped and honed to perfection, became an extension of the scribe's hand, while ink, carefully mixed, provided the medium for their craft. These historical tools demanded skill and familiarity—scribes needed to know how to maintain their quills and guarantee ink consistency for clean, precise writing.
Every scribe understood the importance of detail. The layout had to be planned scrupulously, with text margins and spacing carefully considered. Through their dedication and expertise, scribes not only preserved knowledge but also contributed to the aesthetic beauty of historical folios, guaranteeing their survival through the eras.
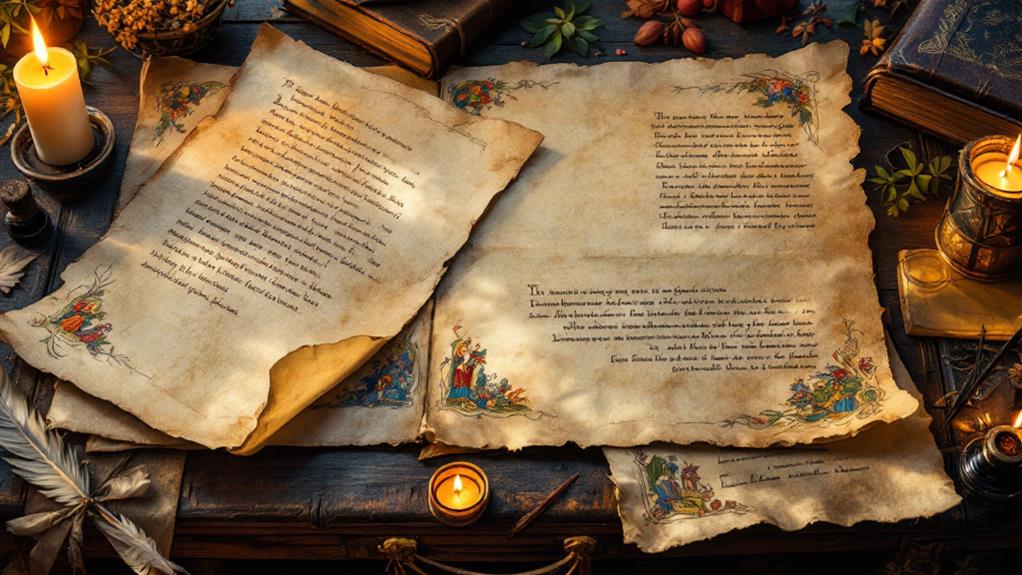
Illustrations and Illumination
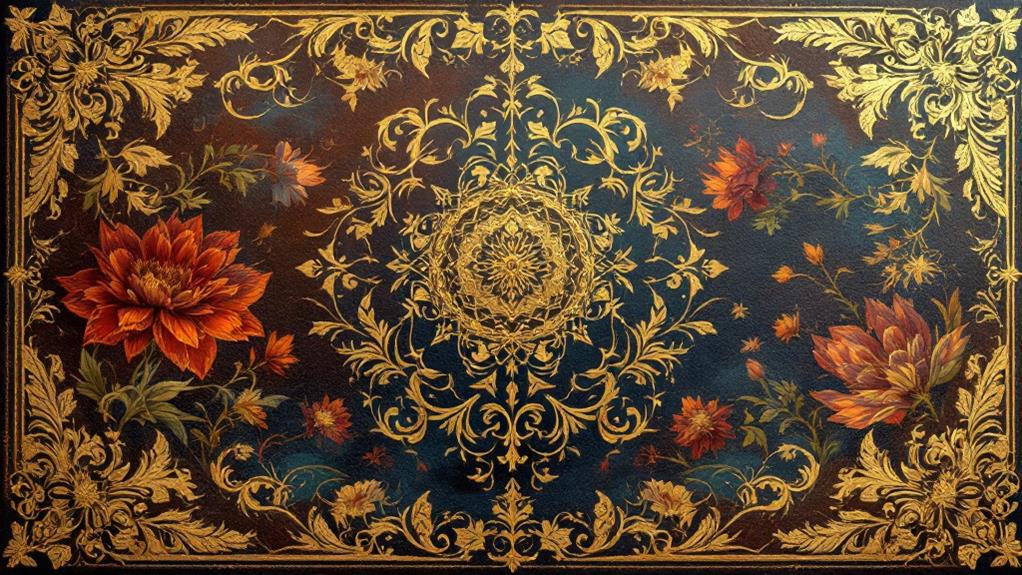
While scribes painstakingly crafted the written word, another layer of artistry awaited in the form of illustrations and illumination. These elements weren't mere decorations; they were integral to the folio's storytelling and meaning. You'd find that each illustration was infused with medieval symbolism, conveying messages that complemented the text. A rose might represent purity, while a dragon could symbolize evil or chaos.
Artists used lively colors to breathe life into these images, drawing the eye and enhancing the reader's experience. The pigments came from natural sources, like crushed minerals and plants, which guaranteed the colors remained brilliant over time. Reds, blues, and greens were especially popular, each carrying its own symbolic weight. You'd be amazed by how these colors transformed a simple manuscript into a visual feast.
Illumination often included intricate borders and initial letters that were more than just decorative; they guided the reader through the text. By illustrating key passages, artists helped emphasize themes and highlight significant sections. Together, illustrations and illumination created folios that were not just read, but truly experienced, making them cherished works of art in medieval times.
Applying Gold Leaf Techniques
When it comes to applying gold leaf, precision and patience are your best allies. To master the art of gold leaf application, you need to focus on the following steps. Firstly, gather the necessary gilding tools: a gilder's cushion, knife, and brush. These tools are crucial for handling the delicate gold leaf without tearing it.
- Prepare the Surface: Before you begin, verify the surface is smooth and clean. Any imperfections can affect the final appearance. Use a special adhesive known as "size" to create a tacky surface for the gold leaf to adhere to.
- Cutting the Gold Leaf: With your gilder's knife, carefully cut the gold leaf into manageable pieces. Precision here guarantees that you don't waste any of the precious material.
- Application: Use a gilder's brush to gently lift the gold leaf and place it onto the adhesive. The brush helps prevent direct contact with your hands, which could cause damage.
- Burnishing and Finishing: Once the leaf is in place, gently press and burnish it with a soft cloth or tool to confirm it's securely attached. This step improves the shine and smoothness of the gold leaf, completing the elegant look.
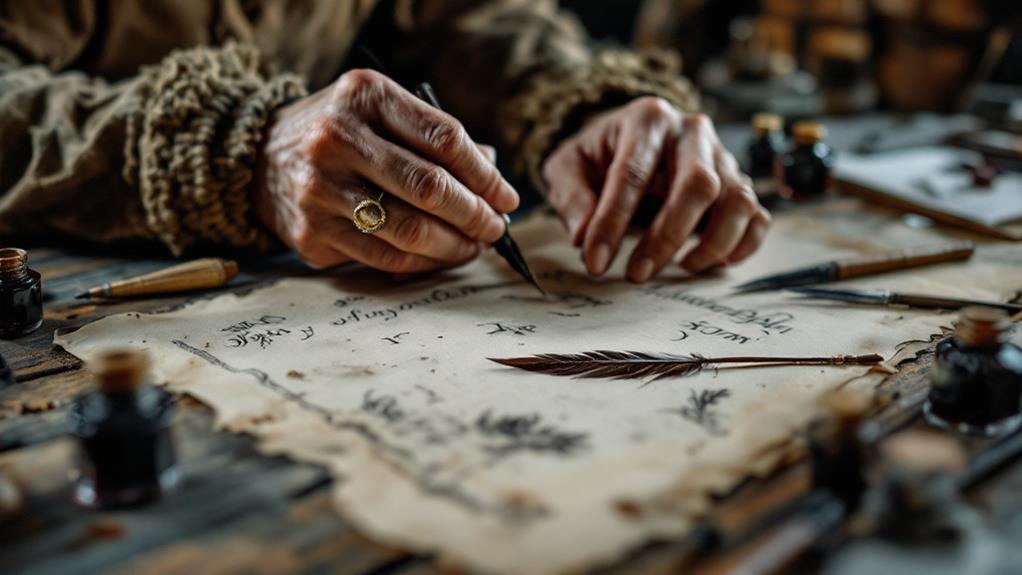
The Art of Calligraphy

Though the art of calligraphy requires dedication, its rewards are profound and beautiful. When you commence your calligraphic expedition, you immerse yourself in a tradition that spans centuries. Medieval scripts are your guide, offering a rich tapestry of history and artistry. Each stroke you make connects you to the scribes of the past, who painstakingly crafted letters with precision and grace.
Start by exploring diverse calligraphic styles. Gothic, Carolingian, and Uncial are just a few medieval scripts that can ignite your creativity. Each style has its own rules and nuances, demanding your attention and respect. As you practice, you'll notice how the angle of your pen and the pressure you apply can transform your letters into stunning works of art.
Don't rush the process; calligraphy is about patience and control. Feel the rhythm of the pen gliding across the page, and let the ink flow naturally. Accept the imperfections—they're part of your artistic signature. Over time, your dedication will manifest in beautifully crafted folio pages that reflect both historical reverence and your personal touch. With every letter, you contribute to the legacy of calligraphy.
Binding the Folio Pages
Once you've completed your calligraphy, the next step is to bind your folio pages into a cohesive work of art. This involves selecting the right folio materials and mastering stitching techniques to guarantee your folio's durability and aesthetic appeal. Here's how to proceed:
- Select Your Thread and Needles: Choose strong, durable thread that complements the paper. Linen or silk threads are traditional choices. Verify your needle matches the thread size to prevent damage to the pages.
- Prepare Your Folio Materials: Arrange the folio pages in order, checking for alignment and uniformity. Fold them into gatherings, also known as signatures, typically consisting of four to eight pages each.
- Choose a Stitching Technique: Coptic stitching is popular for its flexibility and ability to open flat. Alternatively, consider the kettle stitch for a more secure binding. Each technique has unique characteristics, so choose based on your desired finish.
- Bind the Folio: Start stitching from the center of each signature, working outward. Maintain consistent tension to guarantee evenness. Your binding should be robust, yet not overly tight, allowing the folio to function smoothly.
Designing Decorative Covers
Transform your folio into a masterpiece by designing decorative covers that captivate the eye and protect your work. Start by choosing cover materials that not only offer durability but also improve the aesthetic appeal of your folio. Leather, vellum, and cloth were commonly used in historical folios due to their strength and beauty. Each material provides a different texture and finish, allowing you to personalize your folio.
Incorporate historical motifs to give your folio an authentic touch. These timeless designs, inspired by nature, mythology, or geometric patterns, can be embossed or printed onto the cover materials. Think about the time period or culture you wish to evoke and select motifs that resonate with that time. Regardless of it being the intricate arabesques of the Renaissance or the bold geometric shapes of the Art Deco period, these motifs add layers of meaning to your folio.
Pay attention to the small details, like the color palette and placement of embellishments. You can use metallic foils or colored threads to highlight specific motifs, adding depth and sophistication. By thoughtfully designing your folio's cover, you create a visually stunning and protective enclosure for your cherished work.
Preservation and Legacy
Preserving your folio guarantees it stands the test of time and maintains its legacy for future generations. When you consider the cultural significance and historical context of your folio, adopting the right conservation methods becomes essential. Here's how you can secure its preservation:
- Archival Techniques: Use acid-free materials and proper binding methods to protect the physical structure of your folio. These techniques prevent deterioration and help maintain its authentic state.
- Digital Preservation: Convert your folio into digital formats. This approach not only safeguards against physical damage but also broadens the folio's accessibility, allowing it to reach a global audience interested in its educational value.
- Modern Adaptations: Adapt folio content to modern platforms. By creating interactive experiences or online exhibits, you improve its legacy impact and engage younger generations with its enduring stories.
- Conservation Methods: Regularly inspect and clean your folio. Environmental controls, like consistent temperature and humidity, are essential. These practices secure the folio's longevity and continued relevance.
Related posts