


Photography is the art, practice, and application of creating enduring images by recording the light or either electronically using an image sensor. Also, images can be created using light-sensitive materials such as photographic film. It is used in many fields of science, business, manufacturing, etc. Photography has changed since digital cameras and DSLRs took over the old cameras. Now, people do photography for film and video production, art, recreation, hobbies, and mass communication.
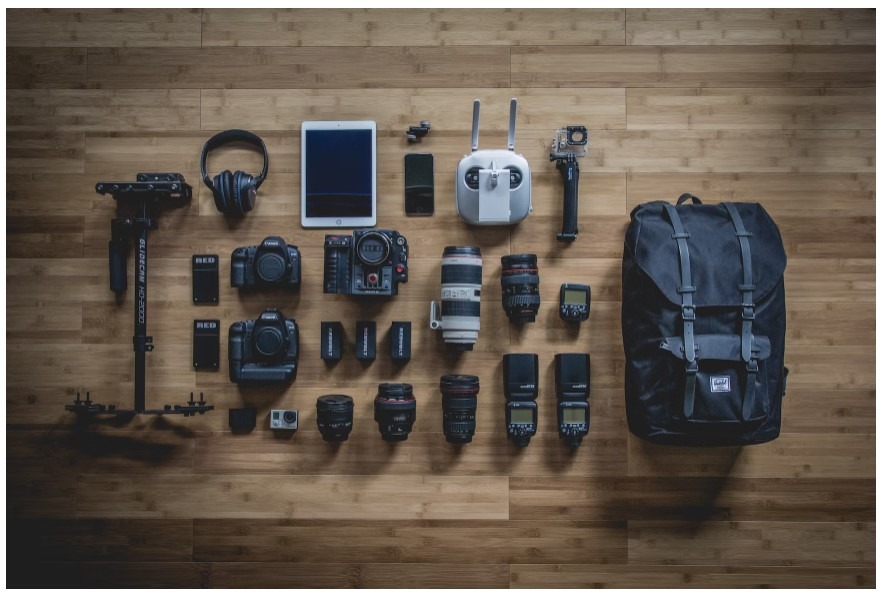
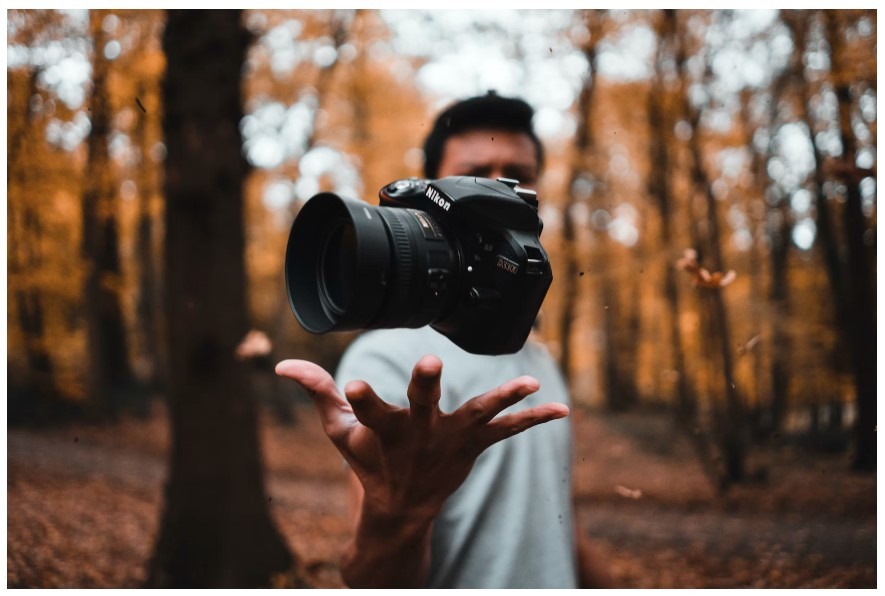
If you are a beginner or a seasoned pro, there are chances that you might be dealing with photography issues because of faulty equipment or not using the right equipment for different purposes. Typically, the lens is used to focus the light reflected from the objects into an image. If the lens is not working properly, then you might not be able to capture the moment.
How Can Faulty Equipment Impact Your Photography
1. Blur Photos

Your photos are blurry because the camera is not able to focus accurately on the subject. There are several reasons fs for this such problem as either there was insufficient light for the autofocus of the camera or the low light situation amplified any camera shake that resulting in capturing a blurred photo. It happens when the camera is not having an anti-shake or stabilizer. If this feature is not working you can use a tripod to avoid blur images.
On the other hand, if you are shooting a fast-moving subject, the shutter speed might be slower than required. Instead of auto mode, you can use burst mode. If the light is low, then you can use an artificial flash or turn up the ISO light sensitivity camera setting at ISO1600 or above.
Sometimes the viewfinder is not accurate and when you focus manually, instead of focusing on the subject, you focus on the background. To have clear images, first determine the precise focus using the screen or viewfinder. Also, adjust the viewfinder according to your eyesight. These options will help you to create clear images with accurate focus.
2. Wrong Colors in Photos


Sometimes, the camera gives the wrong colors in the photos. It is one of the common photography problems. It arises due to a lens problem or just the wrong settings in the camera. To avoid this problem, you should find the right white balance setting for the camera and subject. Most of us know that artificial/tungsten lighting gives shots a warm orange glow.
When you shoot indoors without a flash and an increased ISO setting, you get orange images. It happens because of the ISO setting that compensates and avoids blur. Also, without flash, you will not be able to capture the right colors in the image. You can change the white balance setting in-camera by selecting the icon that looks more like a bulb. After that take test shots and balance the colors as per requirement.
On the other hand, you can find a setting on your camera that provides a variety of natural and artificial lighting conditions. It can be natural daylight or strip lighting, cloudy days, or night-time settings, etc. To adjust the custom white balance, hold a piece of white paper in front of the lens. You can keep experimenting until you get the desired colors.
3. Grainy and Noisy Images
Your images can be noisy and grainy because the camera has automatically selected a high-sensitivity setting to compensate for the lack of lighting. It prevents image/motion blur from the camera shake. The trade-off for reducing the blur is the image grain, also known as image noise. It visibly intrudes into the images. It happens mostly with the cameras with physical small sensors that are loaded with high resolution/pixel count.
It does not mean that your camera is not working fine but the problem arises due to camera settings. To avoid this problem, you can manually select a lower ISO setting such as below ISO1600 and place the camera on a stable surface or use a tripod. Also, a self-timer can help you to shoot images with the right pixels, colors, lighting, etc.
4. Leaning or Bowed Building Photos

Shooting a subject up close with a wide-angle lens setup can cause the problems of bowed or leaning building photos. It makes the top, bottom, and sides bow out. To accentuate the scale or add impact and presence, can be easily remedied. If you are using a wide-angle lens, then step a few steps back from the subject. With a zoom lens, then you can try trying zooming in a bit to compensate for the bowed or leaning objects.
If you are an architectural photographer, you can spend more money on offset or a tilt compensation lens. But before you spend money on an extra lens, you can try the zoom in/out option to take clear images. If you can get a setting close to 35mm or 50mm on a full-frame camera, then you can capture what your eyes can see. It makes it perfect for the street, people, and building photography.
6. Horizons Are Not Straight

If the horizons are not straight, then the problem arises because of two bad lags, three good legs. In other words, your own two legs are not as effective as a tripod with a bubble level. It makes sure that everything is properly aligned and flat.
Some advanced and professional photography cameras come with a built-in bubble level or virtual horizon that you can view on the rear LCD screen. It makes sure that the horizons are true and straight. A green line typically flashes on the screen representing the horizon. If you are still unsure about the horizon level, then you can take test shots with/without a tripod.
7. Shallow Depth Of Field

When attempting shallow depth-of-field portraits, you keep the central part of the image crisp, while subtly blurring both the background and foreground. It is crucial to let the eyes be the sharpest points in your image. If you are using a particularly fast prime lens with a very low f-number and bright aperture, then the area you are trying to focus on may be narrow. Hence, when you press the shutter button, the focus shifts from the desired area.
To solve this problem, you can mount the camera on a tripod and use a cable shutter release. It increases the chances of getting the focus on the desired area with sharp pixels.
Faulty Equipment – Photography Solutions
When you opt for photography as your profession, then equipment cannot be blamed but your techniques or habits. A professional photographer is even able to take perfect shots with a piece of faulty equipment. The basic equipment in photography is a camera and lens. The type of images you take on a professional camera depends on the scenario such as low light, high light, wide-angle, close up, etc.
If you are not choosing the right settings on the camera, then even the most expensive professional camera would not help you. Make sure that you use white balance and correct ISO settings. You should be able to take perfect colors in the photos in low light and without a flashlight. A professional photographer can even brighten up the low lightroom in the images by just using the right focus, settings, and lens.