Historical Folios: the Process From Ink to Page

You're about to uncover the intricate process of creating historical folios. Begin by choosing high-quality parchment made from animal skins, like vellum or goatskin. Next, craft ink from natural pigments, with iron gall being central. Prepare your writing surface by stretching and treating it for durability. Equip yourself with a quill pen and a penknife, mastering it all to execute calligraphy and rich illumination. Bind the folio using traditional methods for longevity and visual appeal. Each step is steeped in history and artistry, promising a deeper understanding of how these folios came to life from ink to page.
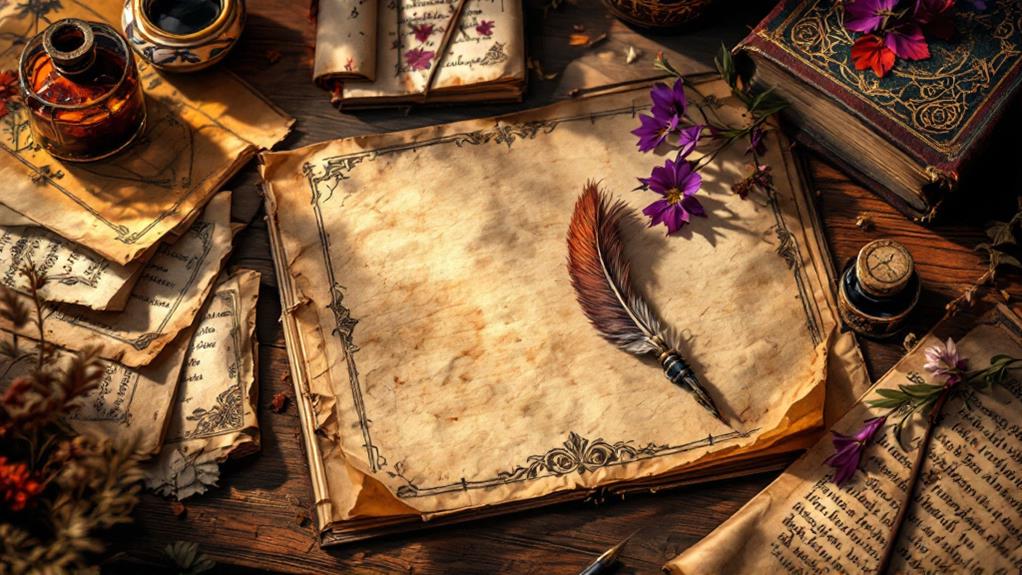
Selecting the Right Parchment
When selecting the right parchment, you should focus on the quality and purpose of your project. Different parchment types have distinct characteristics, and understanding these can greatly affect the outcome of your work. Historically, parchment was made from animal skins, primarily sheep, goats, or calves. Each type offered unique attributes: vellum, made from calfskin, was prized for its smooth surface and durability, making it ideal for illuminated manuscripts and essential documents. Goatskin, known for its strength and texture, was often used for items that required resilience, like binding covers.
Consider how historical uses inform your choice. If you're aiming to recreate an ancient manuscript, vellum might be your best bet for authenticity. For projects that involve a lot of handling or require robustness, you might lean toward goatskin. Furthermore, assess the thickness and finish of the parchment. A smoother surface is preferable for intricate detail work, while a more textured finish might suit projects where a rustic or vintage feel is desired. By considering the type of parchment and its historical applications, you'll guarantee your project not only meets your artistic vision but also stands the test of time.
Crafting the Ink
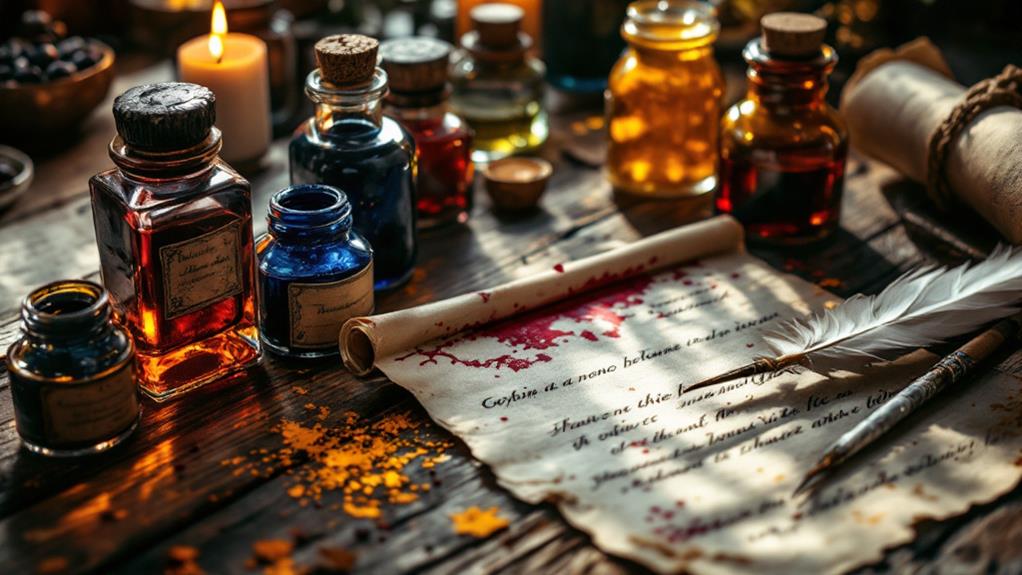
As you investigate crafting the ink for your historical folio project, understanding traditional methods will be essential. Start by delving into historical recipes, which provide insight into the art of ink making used by scribes centuries ago. These recipes often employed natural pigments, derived from elements found in the environment, such as charcoal, gallnuts, or minerals like iron oxide. By replicating these time-honored techniques, you connect with the past in a tangible way, adding authenticity to your work.
First, gather your materials. The core of historical ink is often a base of tannins and iron salts, a combination known as iron gall ink. Mix crushed gallnuts with water, then introduce iron salts to create a rich, dark liquid. For color variations, experiment with other natural pigments. For instance, using sepia from cuttlefish or vermilion from cinnabar can offer unique hues.
Remember to maintain the right consistency, ensuring the ink flows smoothly from your pen without blotting. Test your ink on scrap parchment to adjust its thickness if needed. By crafting the ink with care, you uphold the tradition and artistry of historical folio creation.
Preparing the Writing Surface

Before you can begin writing your historical folio, preparing the writing surface is crucial to guarantee longevity and clarity. You'll want to start by selecting a quality material, such as parchment or vellum. Once you've chosen your surface, focus on preparation techniques that ascertain it's ready for ink. Begin by gently stretching the material to minimize any natural wrinkles or imperfections. This step helps create a smooth writing area without distortions.
Next, surface treatments are important. For parchment, use a pumice stone to lightly abrade the surface, removing any residual oils and providing a texture that grips the ink. This guarantees that the ink doesn't smudge or bleed, enhancing readability. If using vellum, apply a thin layer of chalk dust. It absorbs excess moisture and creates a matte finish, ideal for precise writing.
Tools of the Scribe
To craft a historical folio with precision, you need the right tools that enable fluid and controlled writing. Your expedition begins in the scribe's workspace, where each historical tool plays a critical role in the art of manuscript creation. Start with a quill pen, traditionally made from a goose feather. Select one with a strong, flexible nib for different stroke widths. You'll need a penknife to trim and shape the quill, ensuring the perfect point for writing.
Next, you must have ink, typically iron gall, known for its rich, lasting color. Prepare it in an inkwell, allowing for easy access and minimal spillage. Keep a piece of blotting paper nearby to absorb excess ink and prevent smudges on your parchment. Parchment, made from animal skin, serves as your writing surface, providing a durable and smooth canvas for your work.
Don't forget a straightedge for guiding your lines, ensuring text alignment and consistency. At last, a sand container or pounce helps to dry the ink and improve the parchment's texture. With these historical tools, your scribe's workspace becomes a hub of creativity and craftsmanship, ready for your manuscript endeavors.
Techniques of Calligraphy
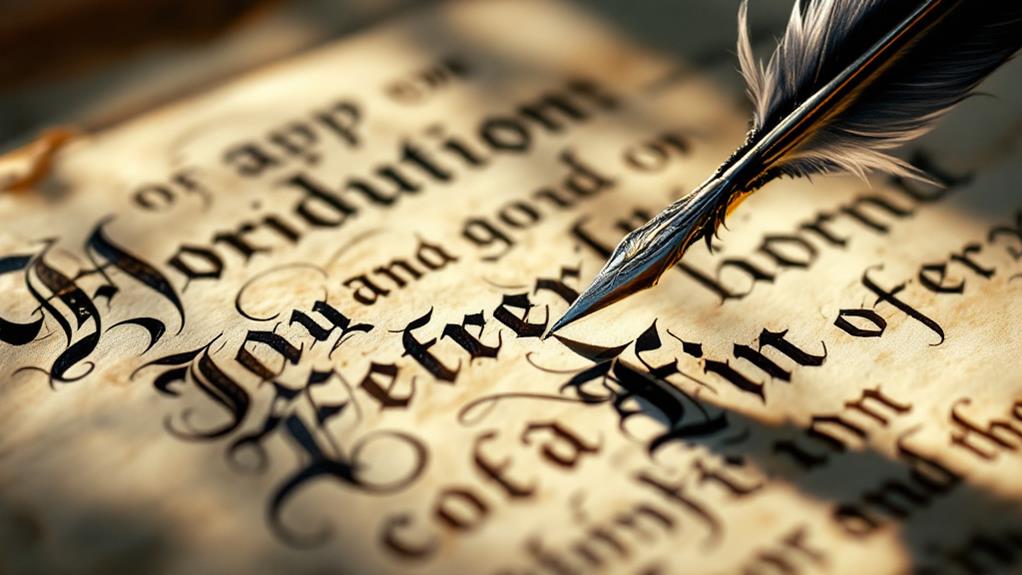
Mastering the techniques of calligraphy requires patience and practice. As you commence on this expedition, you'll uncover a world of distinct lettering styles, each influenced by history and culture. Start with foundational techniques, focusing on the basic strokes that form letters. Practice these diligently, as they are the building blocks of all calligraphy.
Pay attention to historical influences that shape different styles. Gothic scripts, for instance, with their dramatic, angular lines, reflect the medieval period's aesthetic. In contrast, the flowing elegance of Italic script speaks to the Renaissance's emphasis on beauty and form. By understanding these influences, you'll appreciate how calligraphy has progressed and how each style carries its own story and tradition.
Experiment with assorted tools to improve your skill. A broad-nibbed pen might suit one style, while a pointed pen could be better for another. As you practice, you'll develop an eye for detail, learning how to adjust pressure and angle to create the desired effect. Remember, calligraphy isn't just about writing; it's about crafting art with every letter, capturing the essence of history in your strokes.
Illuminating the Manuscripts
Illumination breathes life into manuscripts, transforming them into vivid works of art that captivate the eye. You'll find that the use of color symbolism plays a vital role in this transformation, conveying deeper meanings and emotions. Each hue is chosen carefully to reflect religious motifs or the cultural significance of the texts. For instance, gold often symbolizes divinity, while blue may represent the Virgin Mary in a Christian context.
Understanding the historical context helps you appreciate the artistic styles that evolved over time. Manuscript illumination techniques varied across regions and ages, from the intricate Celtic knots of the British Isles to the lively, dynamic figures of the Italian Renaissance. These styles were often influenced by the preferences of patrons, who commissioned works that reflected their power and piety.
As you investigate these illuminated masterpieces, consider the importance of manuscript preservation. The materials and techniques used—such as gold leaf and rich pigments—were designed to guarantee longevity, allowing us to study these works centuries later. The interplay of religious motifs, color symbolism, and artistic styles not only enriches the manuscripts but also provides insight into the cultural and spiritual life of the time.
Binding the Folio
While the lively illuminations captivate your attention, the binding of a folio is likewise vital in preserving its integrity and function. You'll find that binding techniques have evolved considerably over centuries, each method reflecting the time's technological advancements and aesthetic preferences. Choosing the right folio materials is fundamental; they must withstand the test of time and daily handling.
Start by selecting durable materials like leather or vellum for the cover. These provide both protection and a classic appearance. Inside, the folio's spine often employs linen or cotton threads, securing the pages while allowing them to lay flat when opened. This technique guarantees easy reading and viewing of the beautifully crafted illuminations.
Additionally, you'll need to decide on a binding style. Coptic binding allows full page spreads to be seen without difficulty, while case binding offers robust support for heavier folios. Each style has its advantages, so consider the folio's purpose and use when choosing.
Related posts