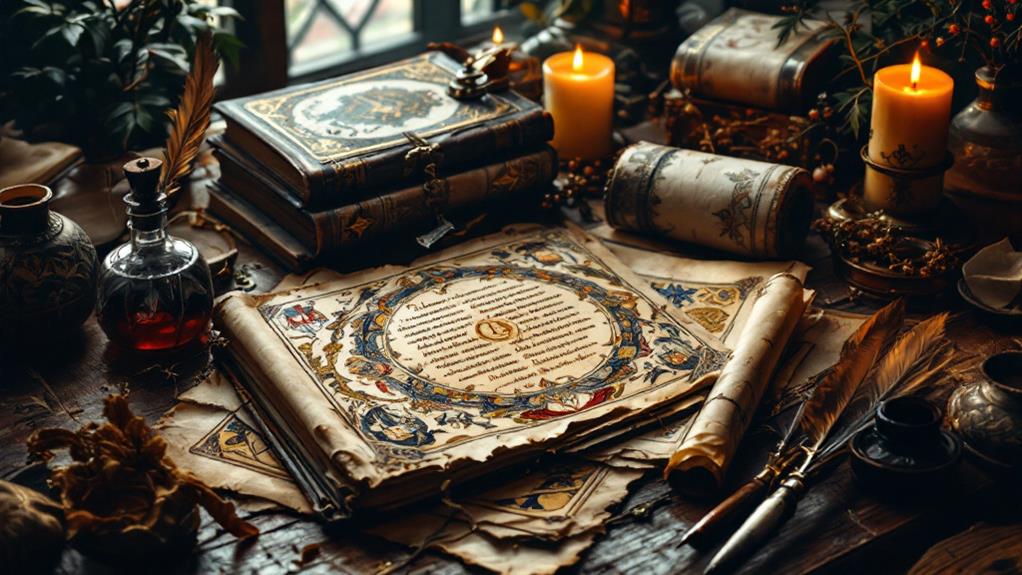
Exploring the Process of Making Folios in Medieval Times
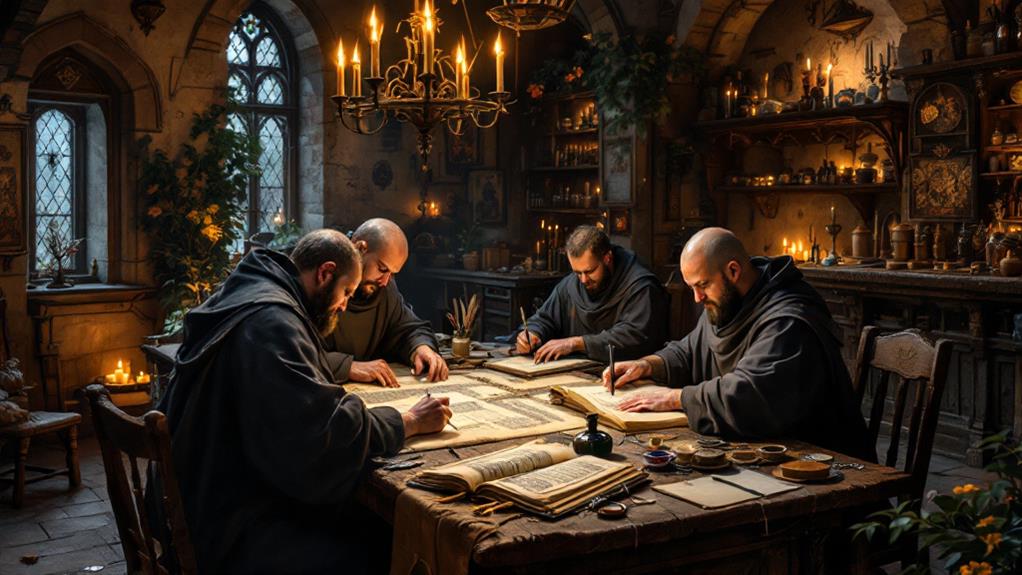
When exploring how medieval folios came to life, you start with transforming animal skins into parchment, prepared carefully for smoothness. You'll craft a quill, choosing the right bird feather for durability, and then shape and harden the nib. Ink follows, where pigments mixed with binders create lively, flowing colors. Manuscripts aren't just text; they're adorned with gold and rich hues through the art of illumination, showcasing knowledge and power. Ultimately, pages are sewn into gatherings and bound with sturdy materials, turning individual sheets into a cohesive book. Unfold more about this enchanting blend of artistry and technique.
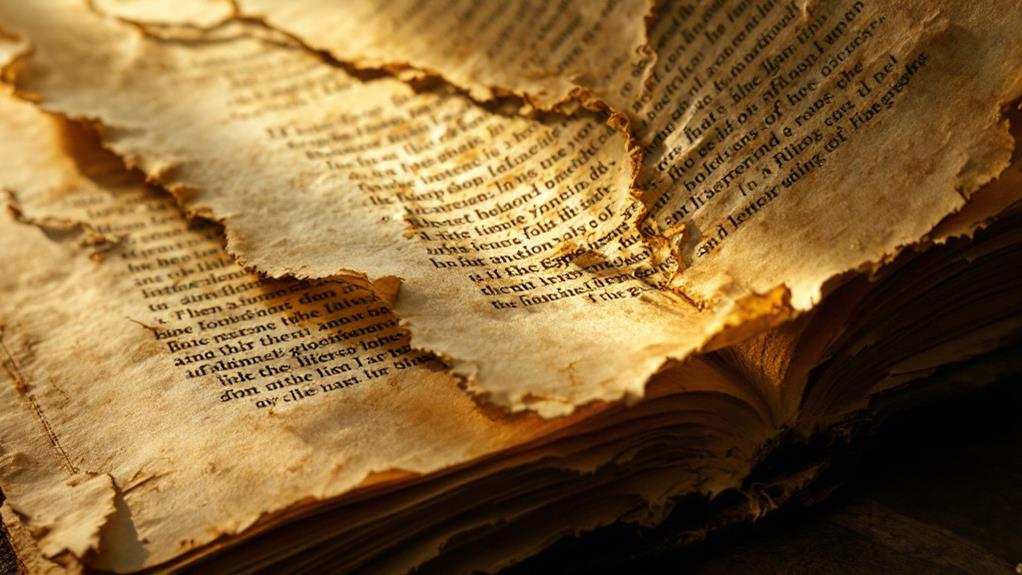
Preparing the Parchment
To prepare parchment in medieval times, you initially needed to select high-quality animal skins, typically from sheep, goats, or calves. Once you had chosen the right skin, the next step was the removal of hair and any remaining flesh. You'd soak the skin in a lime solution to loosen these unwanted parts. This process was essential for pulp preparation, ensuring the surface would be smooth and even for writing.
After the soaking process, you'd stretch the skin on a wooden frame, known as a stretching frame, to dry it. This stage was vital to parchment drying, as it helped maintain the material's flatness and prevented shrinkage. During drying, you'd scrape the skin further to achieve the desired thinness and texture. This scraping also served to remove any remaining impurities.
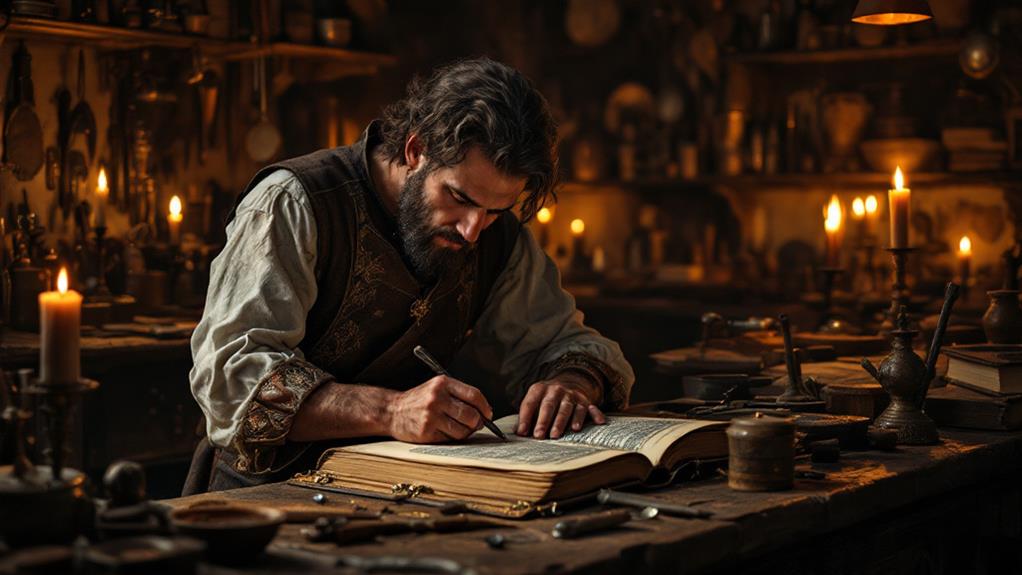
Crafting the Quill
With the parchment prepared, your attention now turns to crafting the quill, an essential tool for any medieval scribe. The choice of a quill greatly impacts the quality of your writing. Start by considering quill types. Goose feathers are popular for their durability and flexibility, while swan feathers, though rare, offer a softer touch. Crow feathers provide a finer point, ideal for intricate details.
Feather selection is vital. You'll want to find a feather that's mature and free from defects. Choose one with a strong central shaft, as this is the backbone of your quill. Inspect for any signs of damage or weakness; a perfect feather guarantees a steady writing experience.
To craft your quill:
- Trim the feather: Remove excess barbs, leaving about an inch near the base for handling.
- Shape the nib: Use a sharp knife to cut a diagonal point. The angle affects the thickness of your lines.
- Harden the nib: Temper the tip by gently heating it, making it more resistant to wear.
Now, your quill is ready, poised to breathe life into your parchment with its elegant strokes.
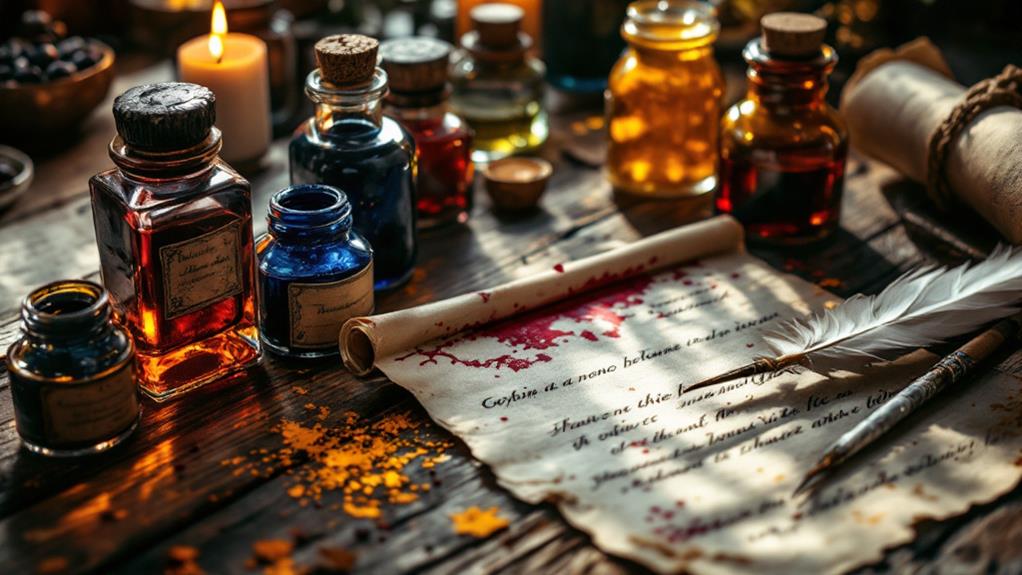
Mixing the Inks

Between byways of medieval artistry, mixing inks becomes a vital task, one that demands precision and care. As you commence on this expedition, you'll find that the choice of natural pigments plays a significant role. These pigments, derived from minerals, plants, or even insects, offer a rich palette of colors. You'll need to grind them carefully, guaranteeing they're fine enough to blend seamlessly into your ink mixture.
Your next step is to focus on ink consistency. This involves combining the ground pigments with a binding agent, often gum arabic, and a liquid base like water or vinegar. You'll need to mix them patiently, adjusting the proportions to achieve the right balance—too thick, and it might clog your quill; too thin, and it risks bleeding on the parchment.
Each batch requires thorough testing. Dip your quill into the ink and try a few strokes. As you do, pay attention to how smoothly it flows and how lively it remains on the page. By mastering this delicate process, you guarantee that the inks you create are not just functional but also lively, ready to bring your medieval folios to life.
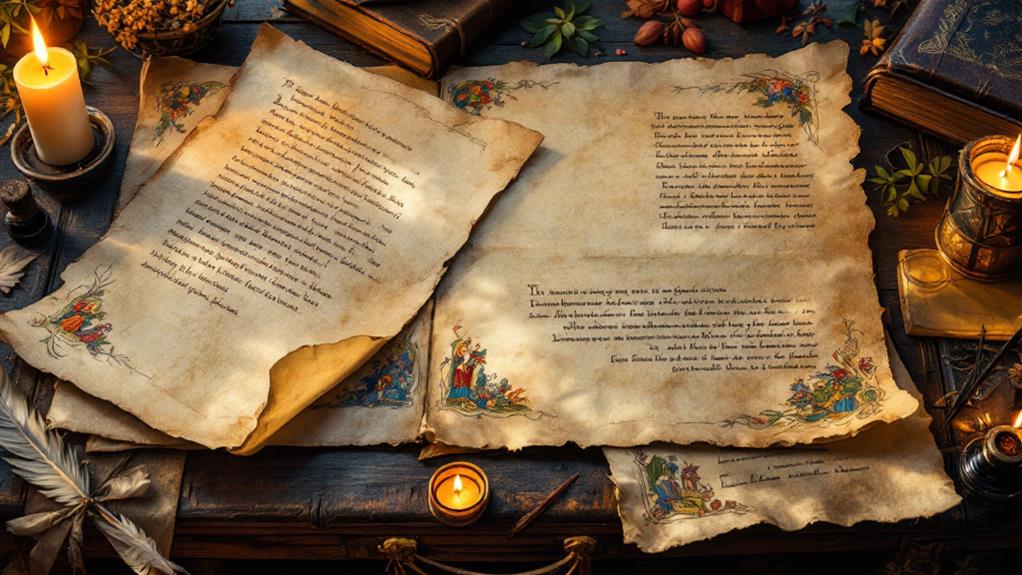
The Art of Illumination
Starting on the art of illumination, you'll discover it's where creativity truly shines in medieval folio making. This intricate process involves decorating the manuscript with gold, silver, and lively colors, transforming plain texts into stunning works of art. The historical techniques used by medieval artists were both careful and groundbreaking. They applied gold leaf using a special adhesive called gesso, which added a luxurious touch to the pages. Colors were crafted from natural minerals and plants, ensuring their brilliance lasted through the centuries.
Understanding the cultural significance of illumination helps you appreciate its role in medieval society. These embellished manuscripts weren't just books; they were revered as gems and symbols of knowledge and power. Monasteries and wealthy patrons commissioned these works to display their devotion and status.
To explore the illumination process, consider these steps:
- Designing the Layout: Artists planned intricate borders and initial letters, ensuring each page was a masterpiece.
- Applying Gold Leaf: Gold was carefully laid onto the page, creating a dazzling effect that caught the light.
- Painting with Lively Colors: Rich pigments brought life to the illustrations, making the folio a visual delight.
This artistry truly exemplifies the remarkable skill and creativity of medieval illuminators.
Binding the Manuscript
Binding the manuscript marks the ultimate stage in creating a medieval folio, where pages are painstakingly assembled into a cohesive book. You've spent countless hours crafting and illuminating the pages, and now it's time to bring them together. Start by gathering the folios into gatherings or quires. Each quire typically consists of four or five sheets, folded to create eight or ten leaves. You'll then use sewing techniques to stitch these gatherings together. The most common method is the link-stitch, where you thread the needle through the center of each quire, looping around cords or leather thongs to secure them tightly.
Once the quires are sewn, turn your attention to the cover materials. In medieval times, covers often consisted of wooden boards covered with leather, sometimes adorned with metalwork or jewels for more prestigious manuscripts. Cut the boards to size, ensuring they protect the edges of your pages. Attach the sewn quires to these boards using leather strips or cords threaded through holes. Ultimately, cover the boards with leather, stretching it tightly for a clean finish. As you complete the binding, you've transformed loose sheets into a lasting legacy of medieval artistry and craftsmanship.
Related posts